This post is to show you some useful features from NPM. You can restrict access to your website or some parts of it by implementing a username/password authentication. One of NPM (Nginx Proxy Manager) features is
- Access Lists and basic HTTP Authentication for your hosts
You also can add a wilecard certificate from Cloudflare into NPM. In this way, you don’t have to apply each certificate for your each subdomain.
Steps to configure basic http authentication
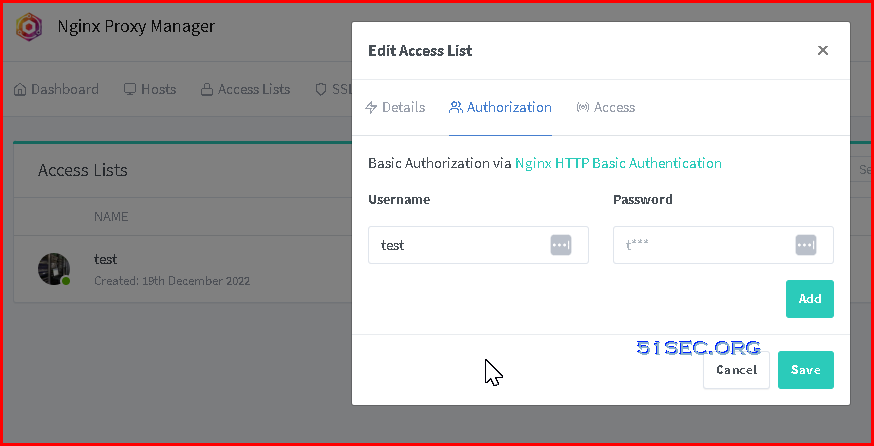
1. Create Access List
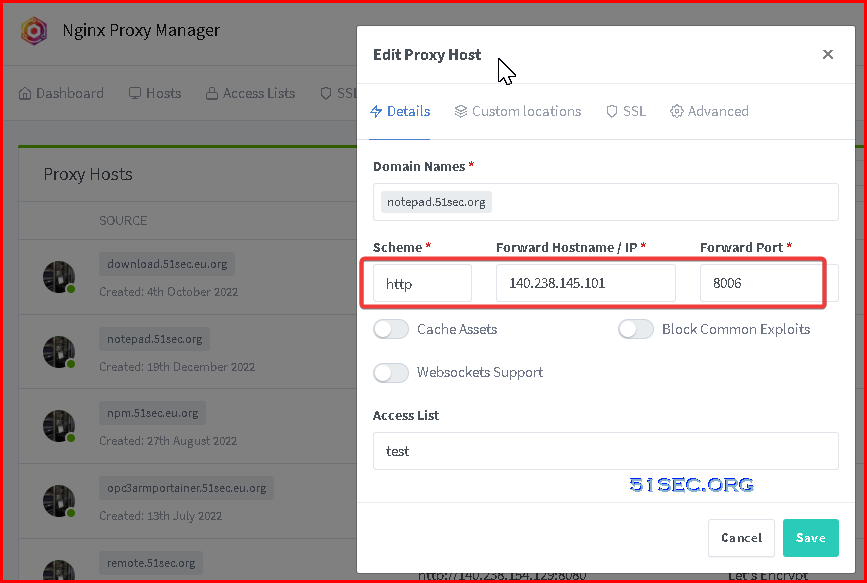
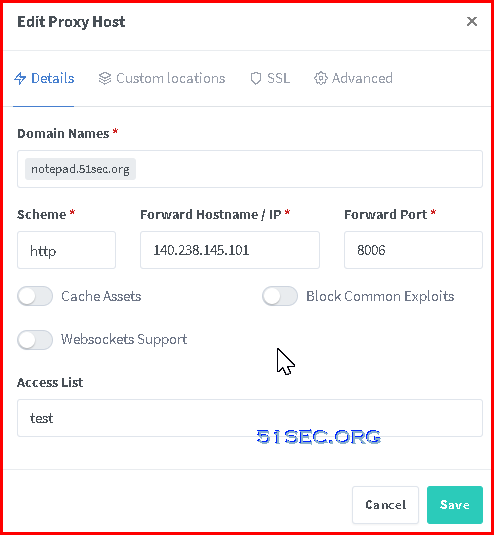
2. Creaet a nwe Proxy host and assign access-list to it
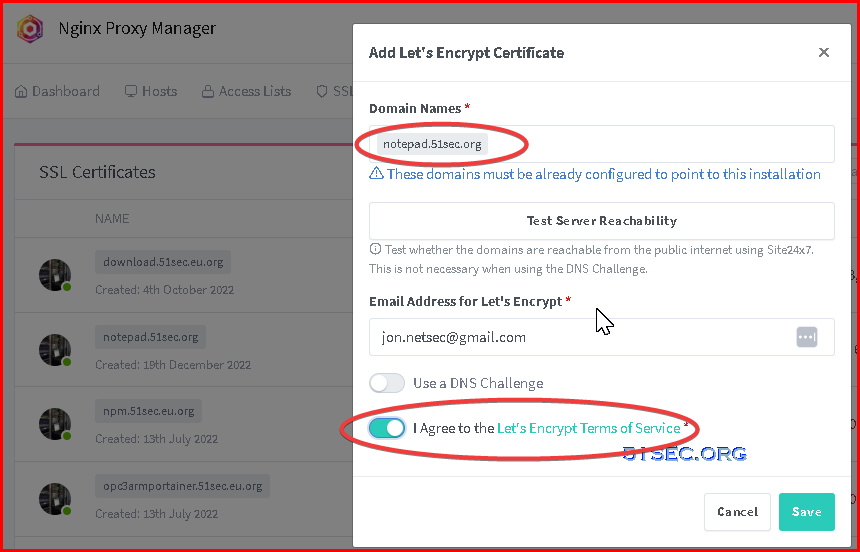
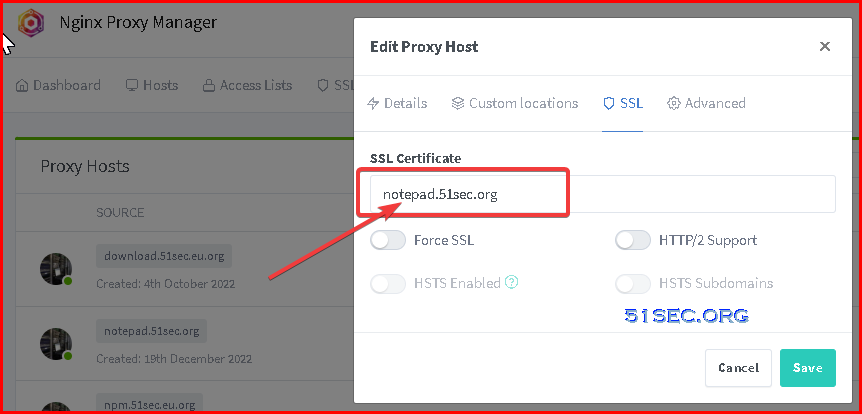
3. Apply a new SSL certificate for your website “notepad.51sec.org”
4. Assign this new applied certificate to our Proxy Host
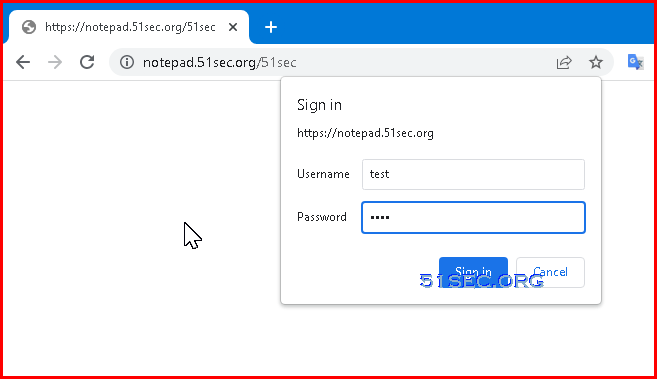
5. Testing with https://notepad.51sec.org/51sec
If you entered the wrong usernmae/password, you will get an 401 authentication failed message.
Use Universal SSL Certificate from Cloudflare
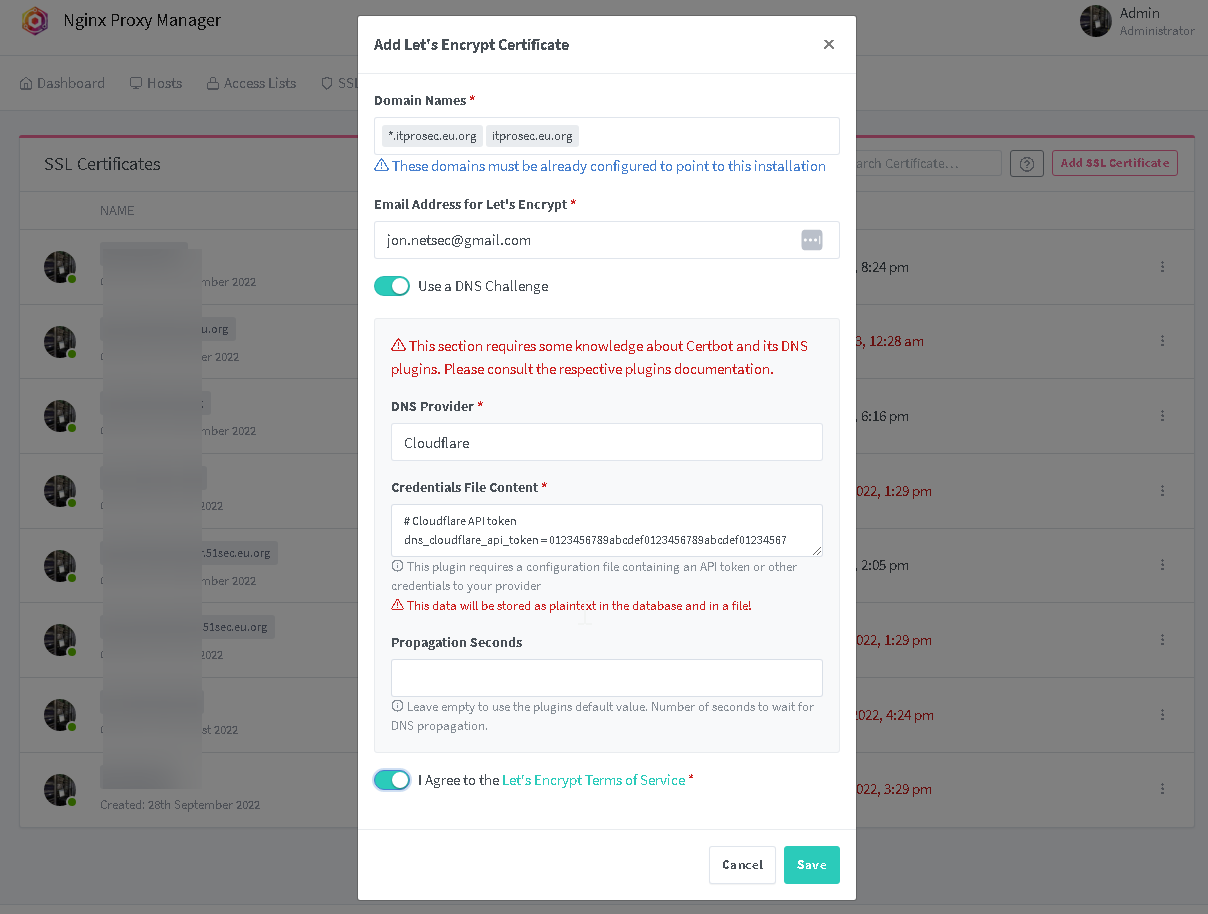
In this lab, I am gonna using Cloudflare as an example to show you the steps how to get wildcard SSL certificate through NPM
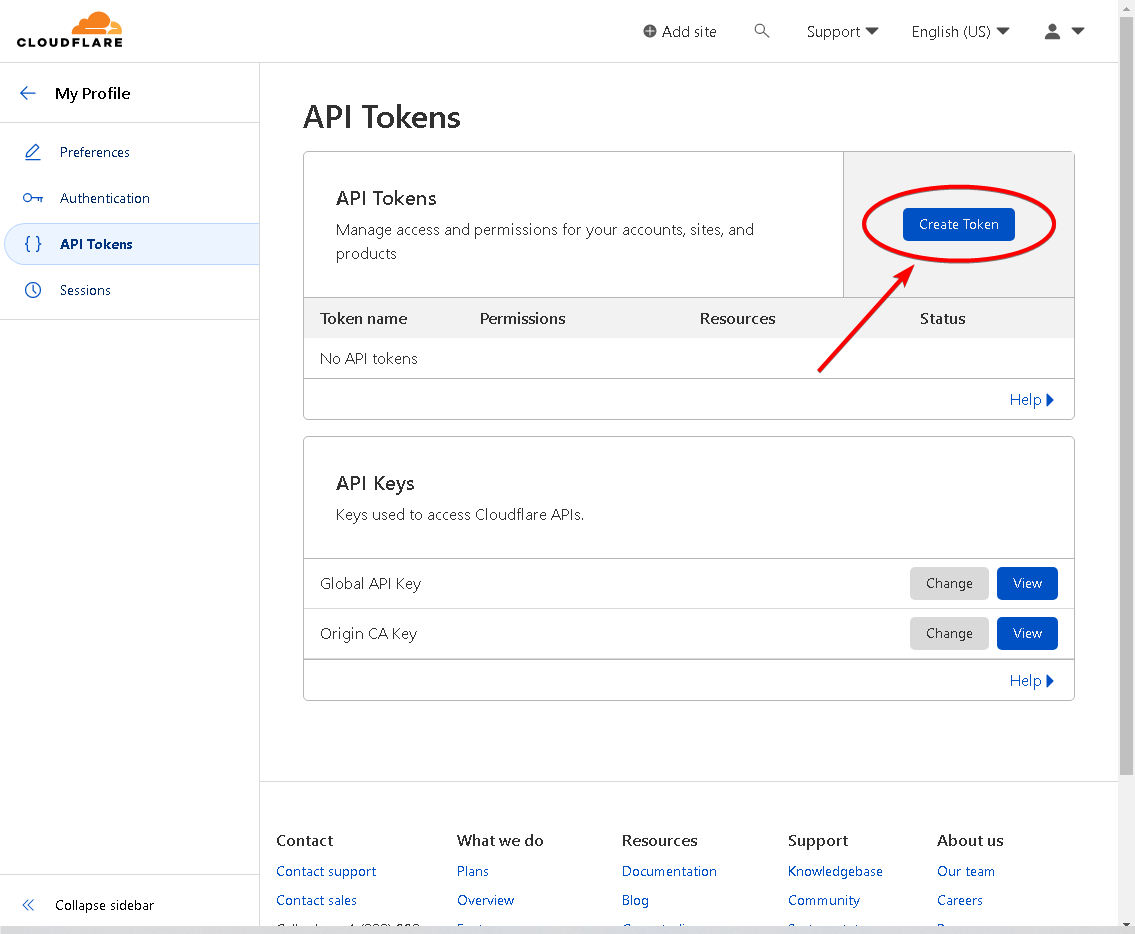
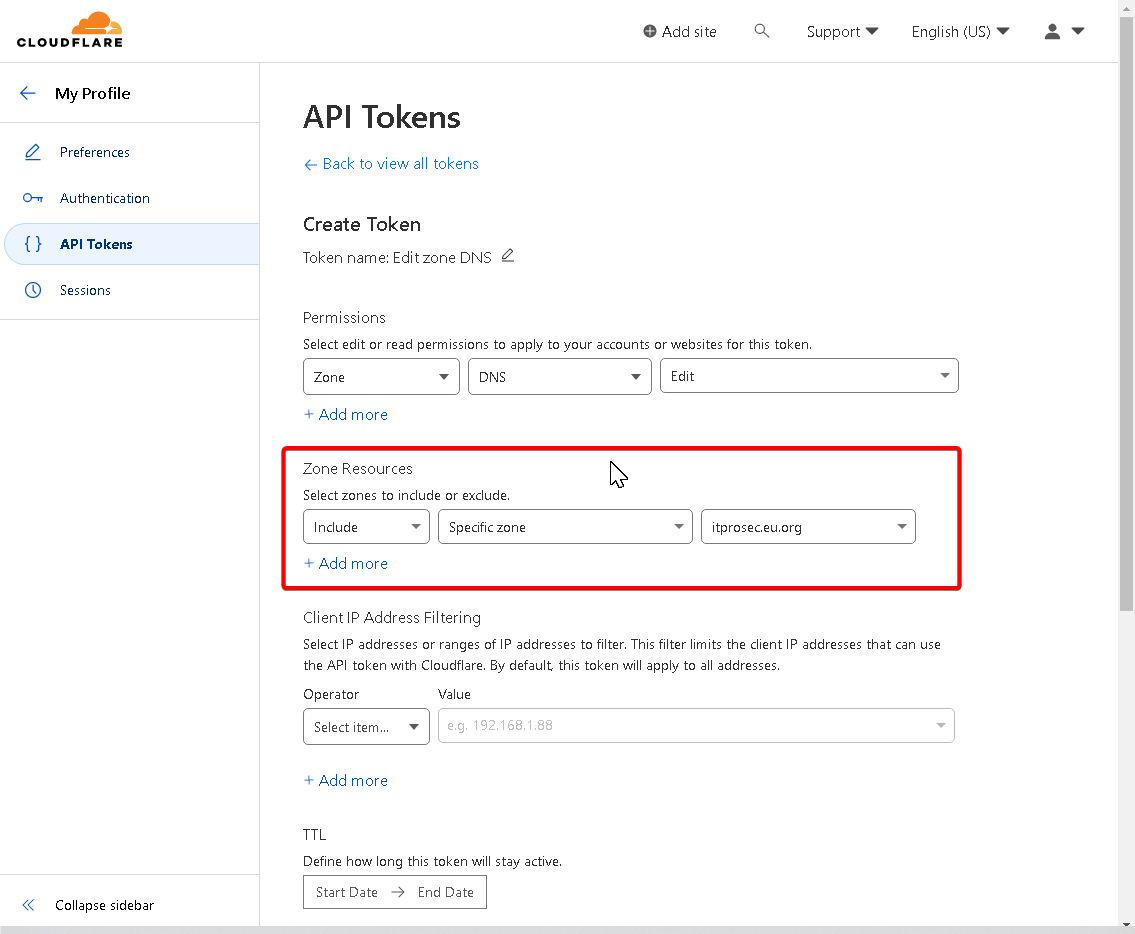
1. Create a new token from Cloudflare
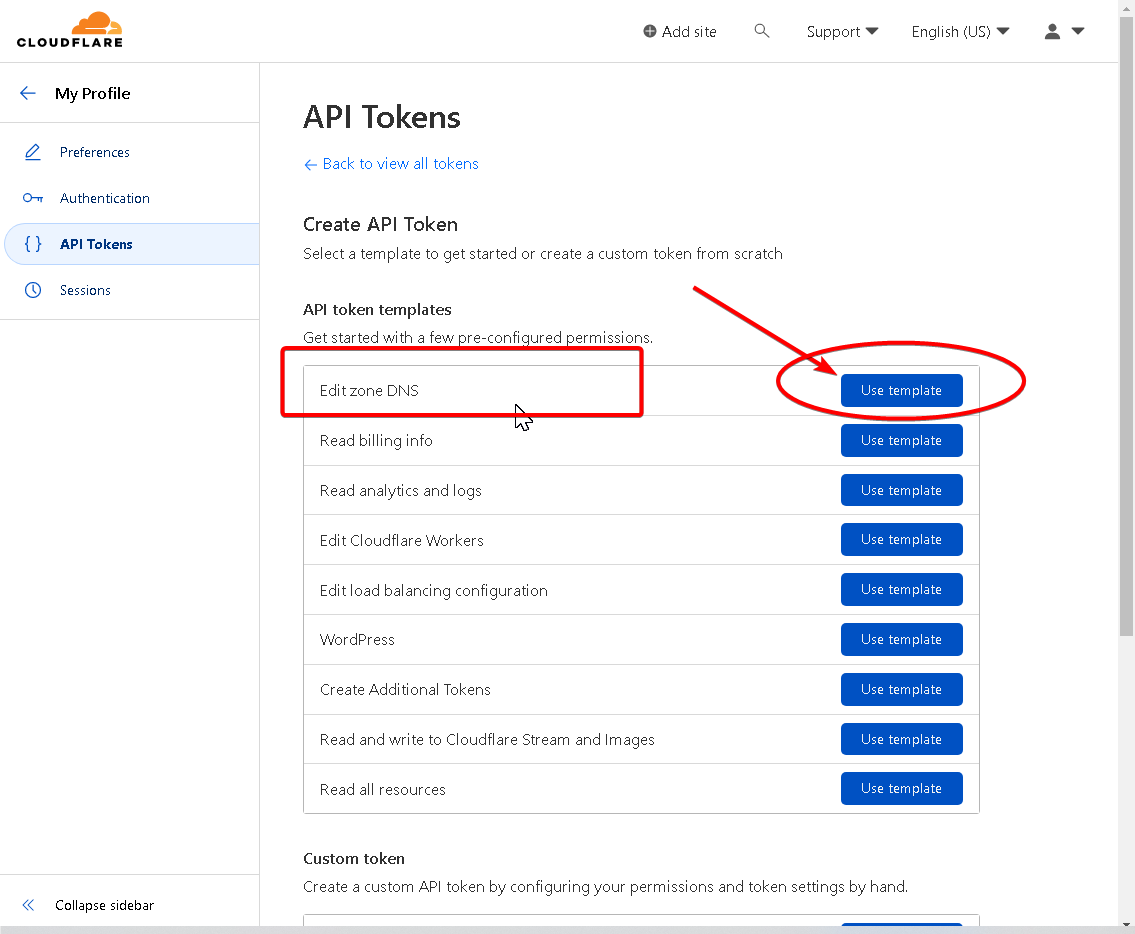
2. Use a template for Edit Zone DNS
Use a specific zone
From NPM, create a new Lets Encrypt Certificate using this new generated Cloudflare API token:
Troubleshooting
Issue #1: When you uploading your certificate and private key into NPM, you might got a invlaid key error.
Solution:
Open your private key and change “BEGIN PRIVATE KEY” and “END PRIVATE KEY” to “BEGIN RSA PRIVATE KEY” and “END RSA PRIVATE KEY”. Apparently with the latest version of NPM it needs the encryption type included in the key file header and footer to pass inspection for cloudflare provided certs.
Issue #2: Got internal error when tried to add *.mydomain.com and mydomain.com into same certificate.
Solution:
Create separate certs for both.
If you did add both records into same certificate, your NPM will say “internal error” and you’ll have to delete your nginx.conf files to get your docker container to restart.
Videos
