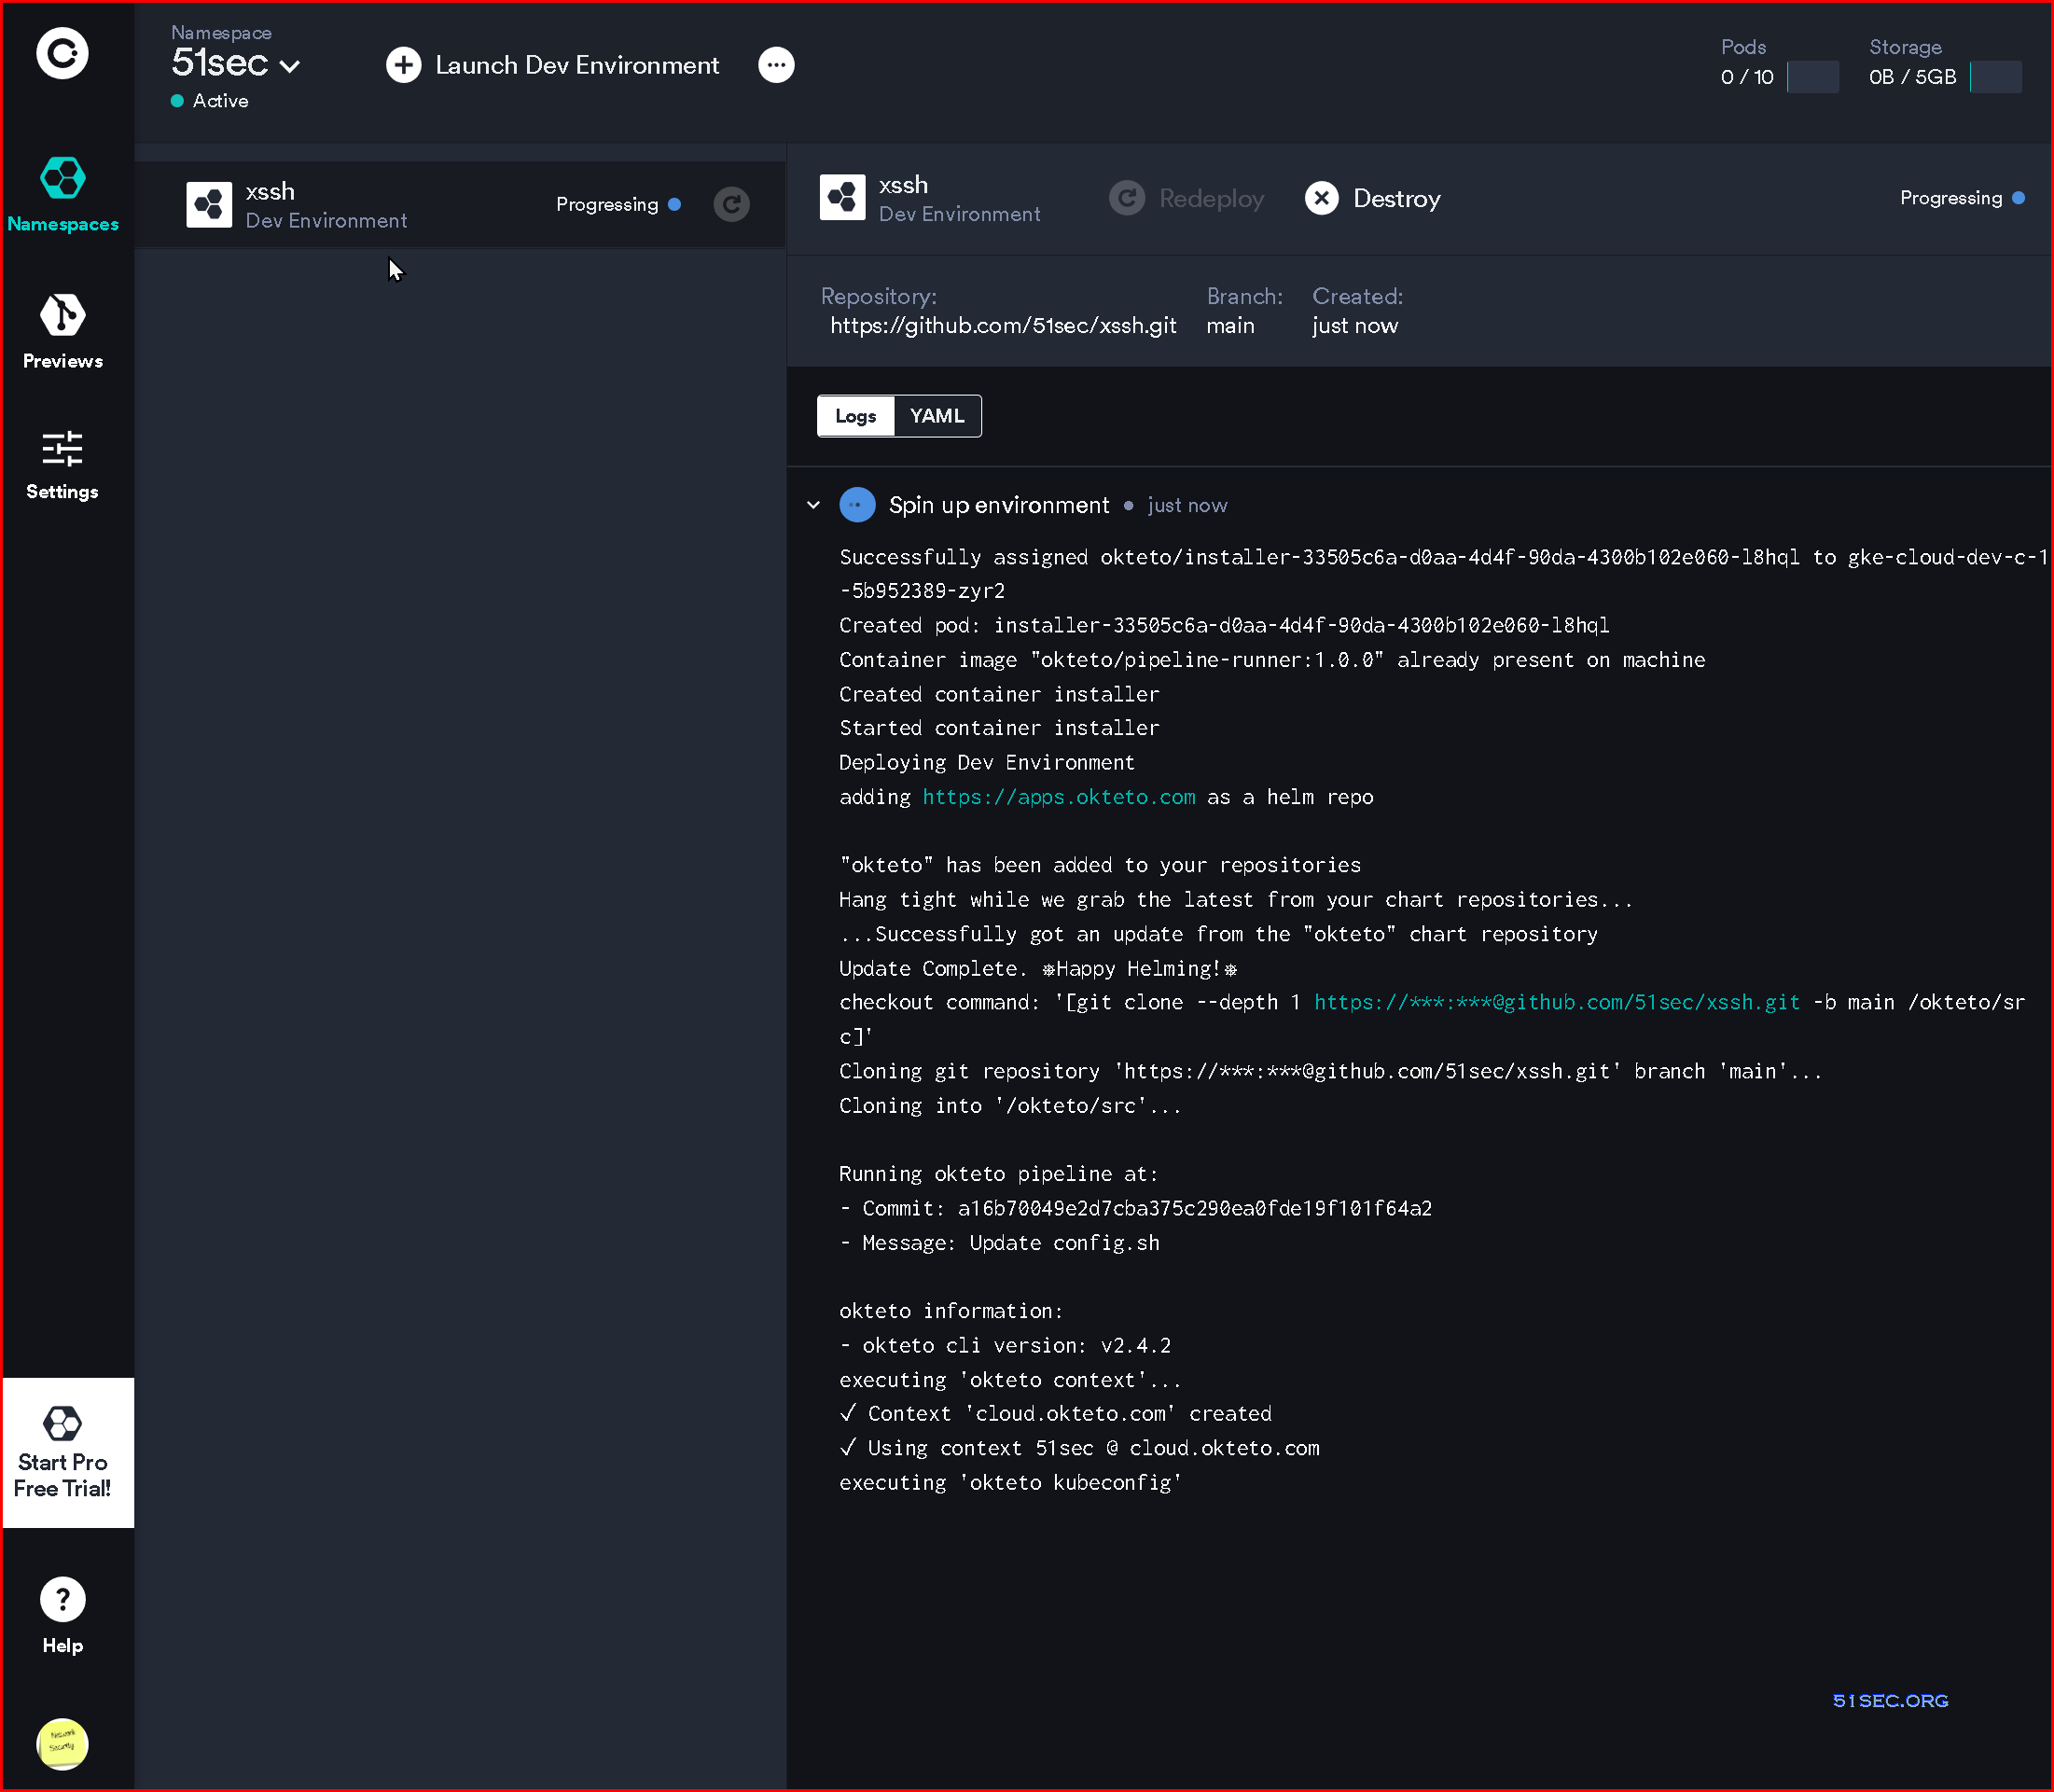
This post shows an interesting way to use Okteto’s container with the help from Ngrok and Github. By default, when you create a namespace and deploy a project to it, you will get a container running on four core CPU with 32GB memory machine. You wont be able to have console and root access to it, and it is even not opened to Internet. With the help of Ngrok and Github, all those become possible.
Note: This usage is violating Oketeo TOS and your Okteto account might be got suspended.
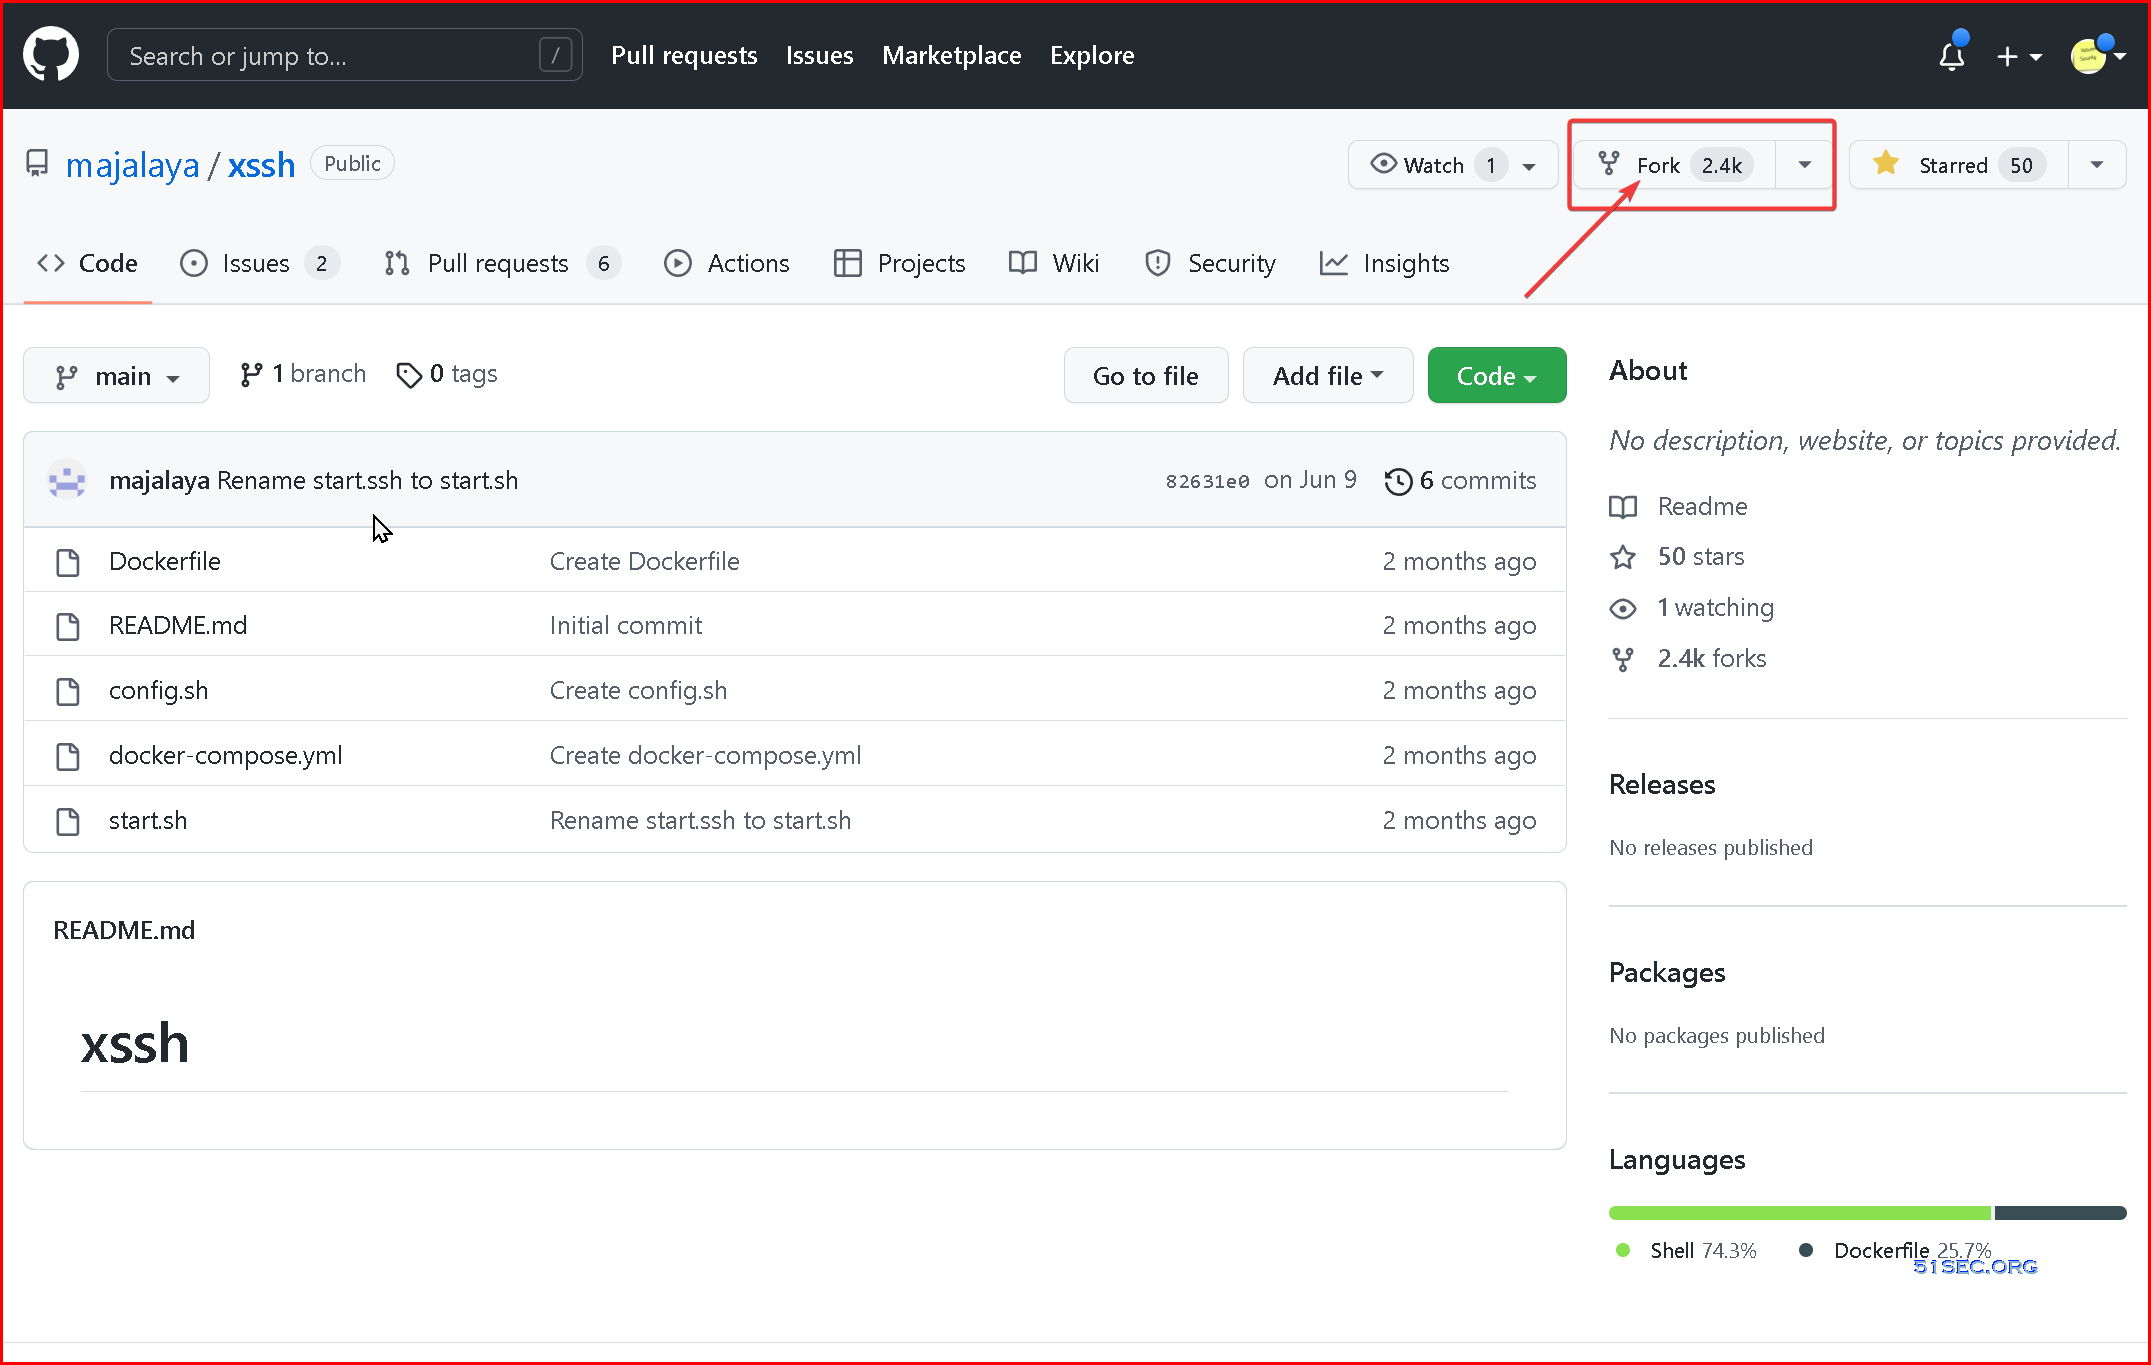
1 Got to github project majalaya/xssh:
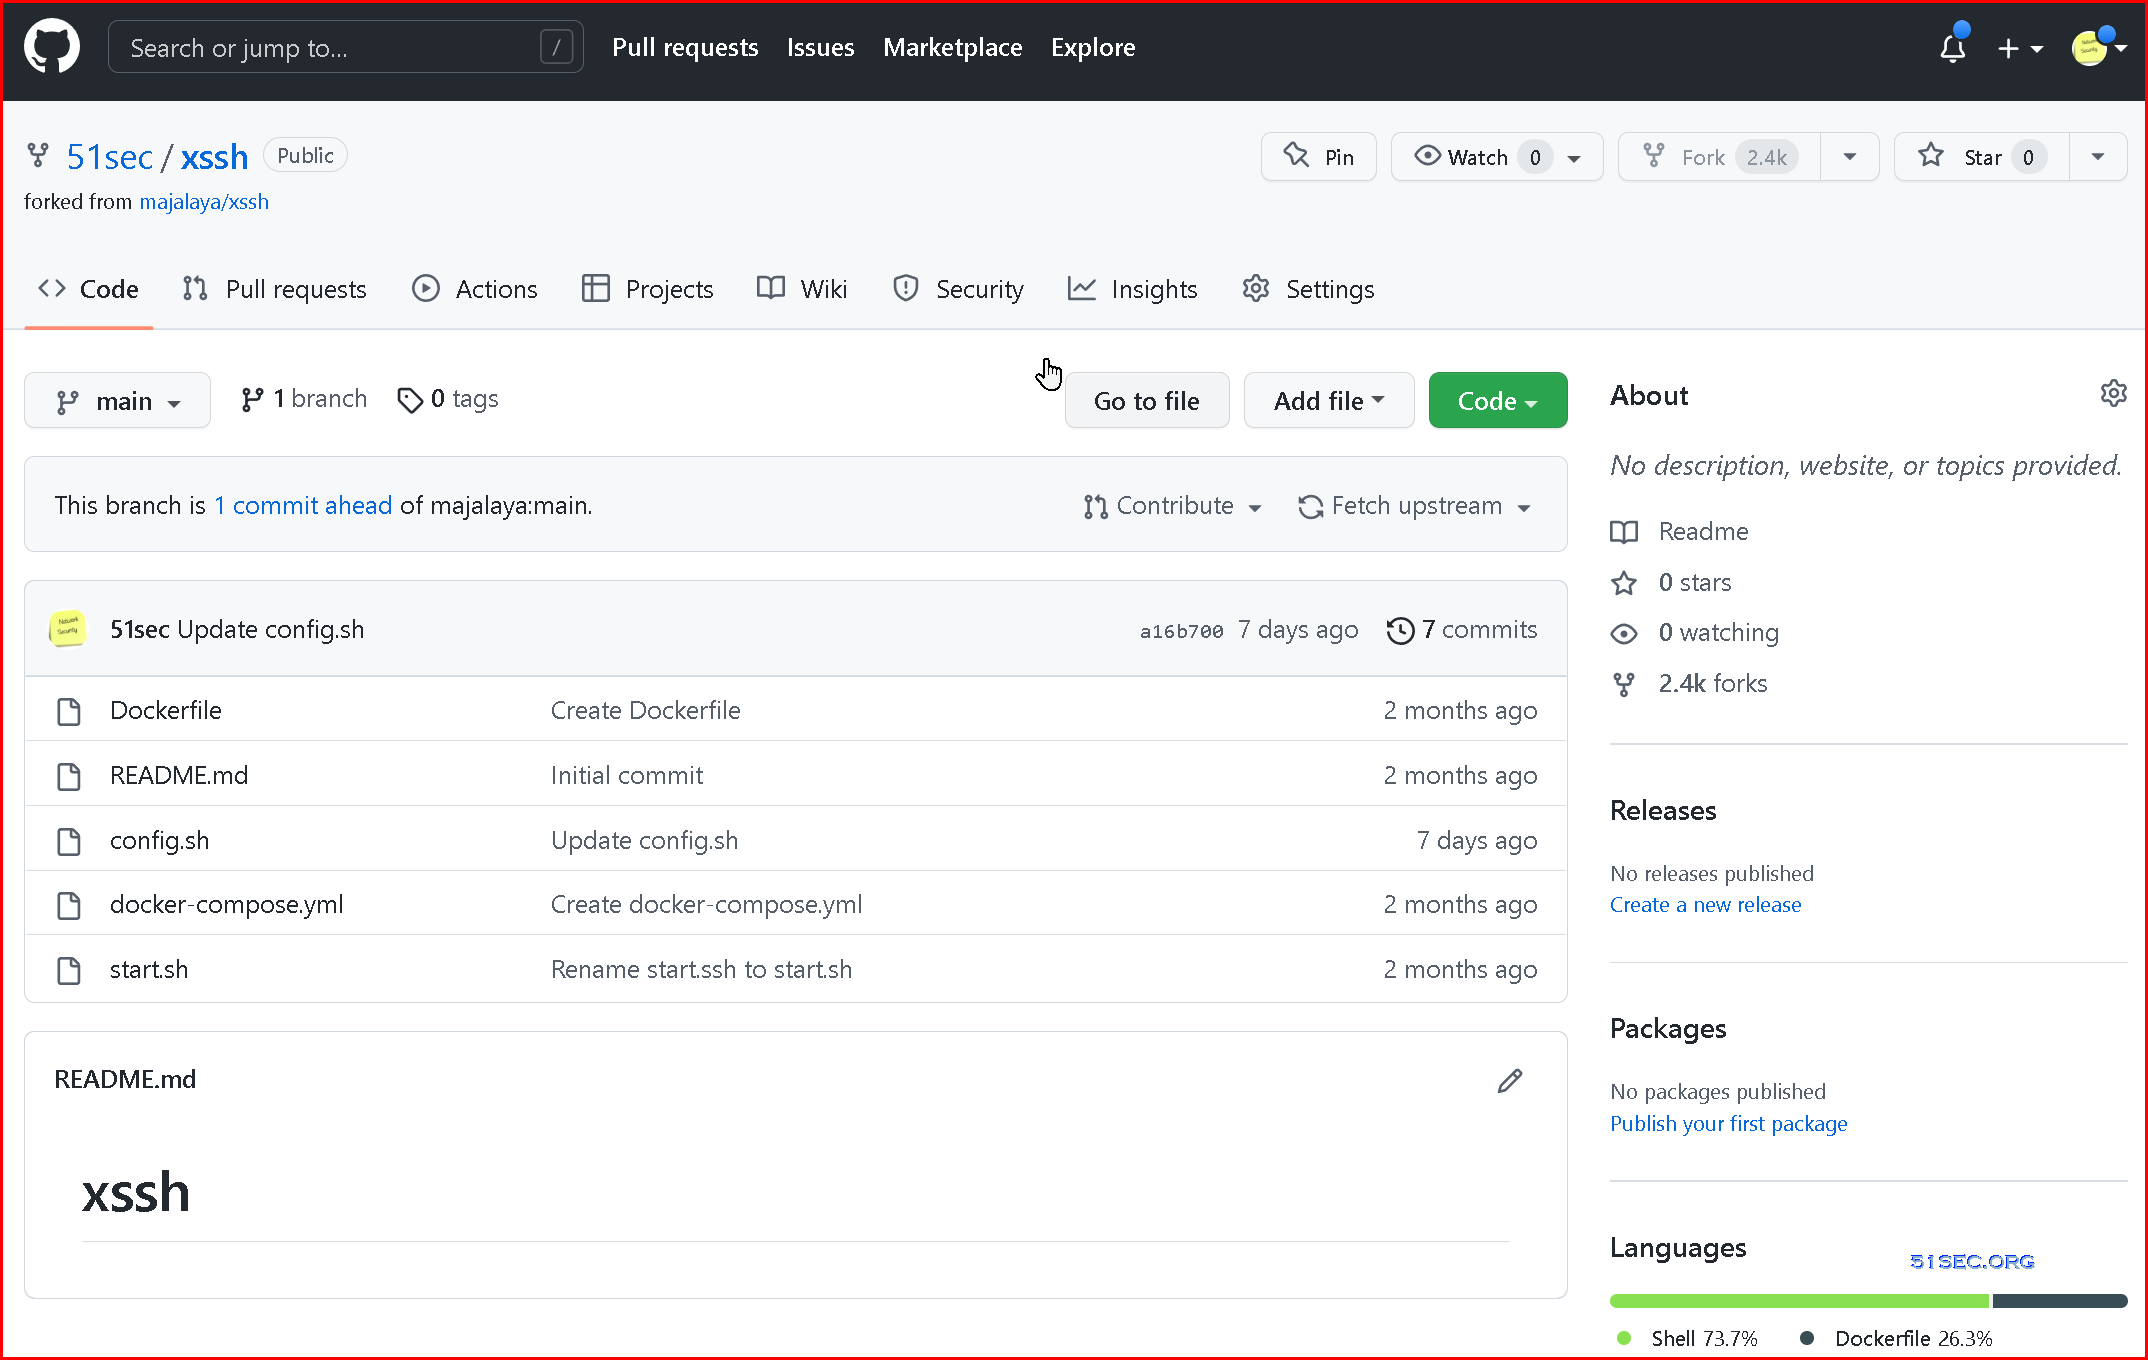
2 Fork it into your own Repository
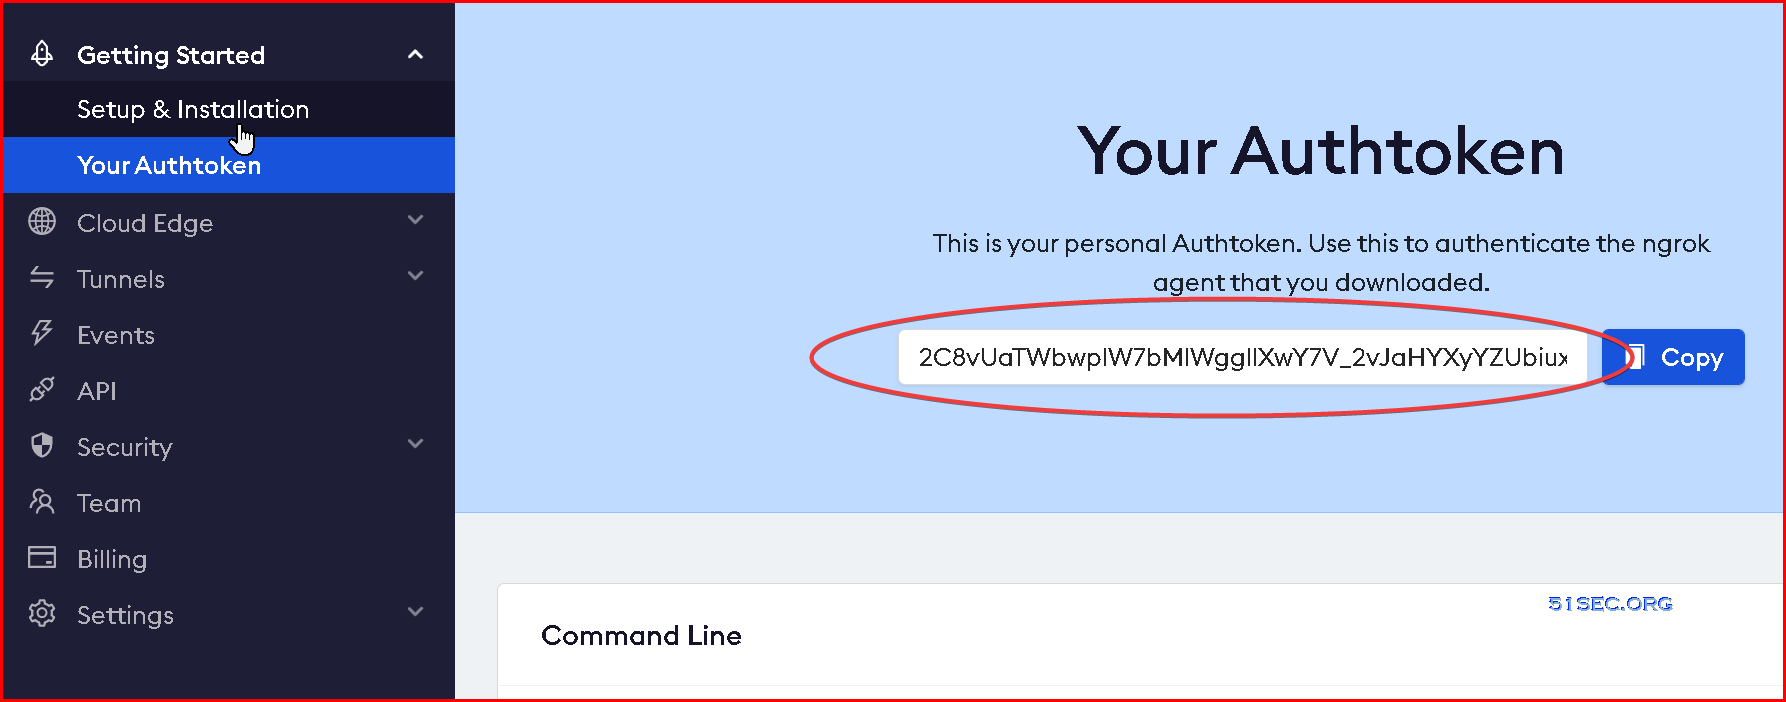
3 Go to https://ngrok.com/. Log in or sign up if you do not have an account
Click Your Authtoken link and copy your ngrok token.
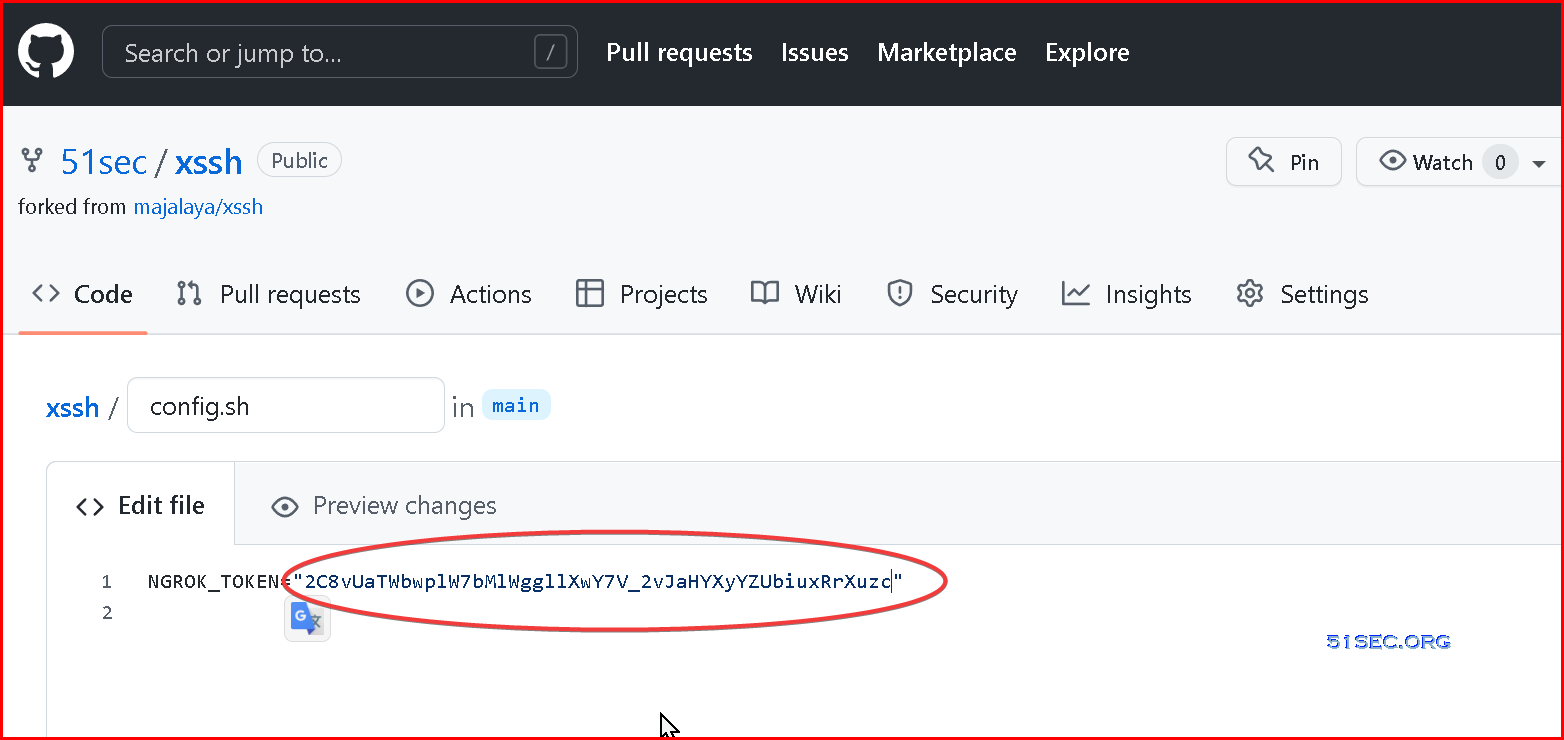
4 Change your token value in config.sh file from your xssh repository
5 Log into Okteto.com with your Github account
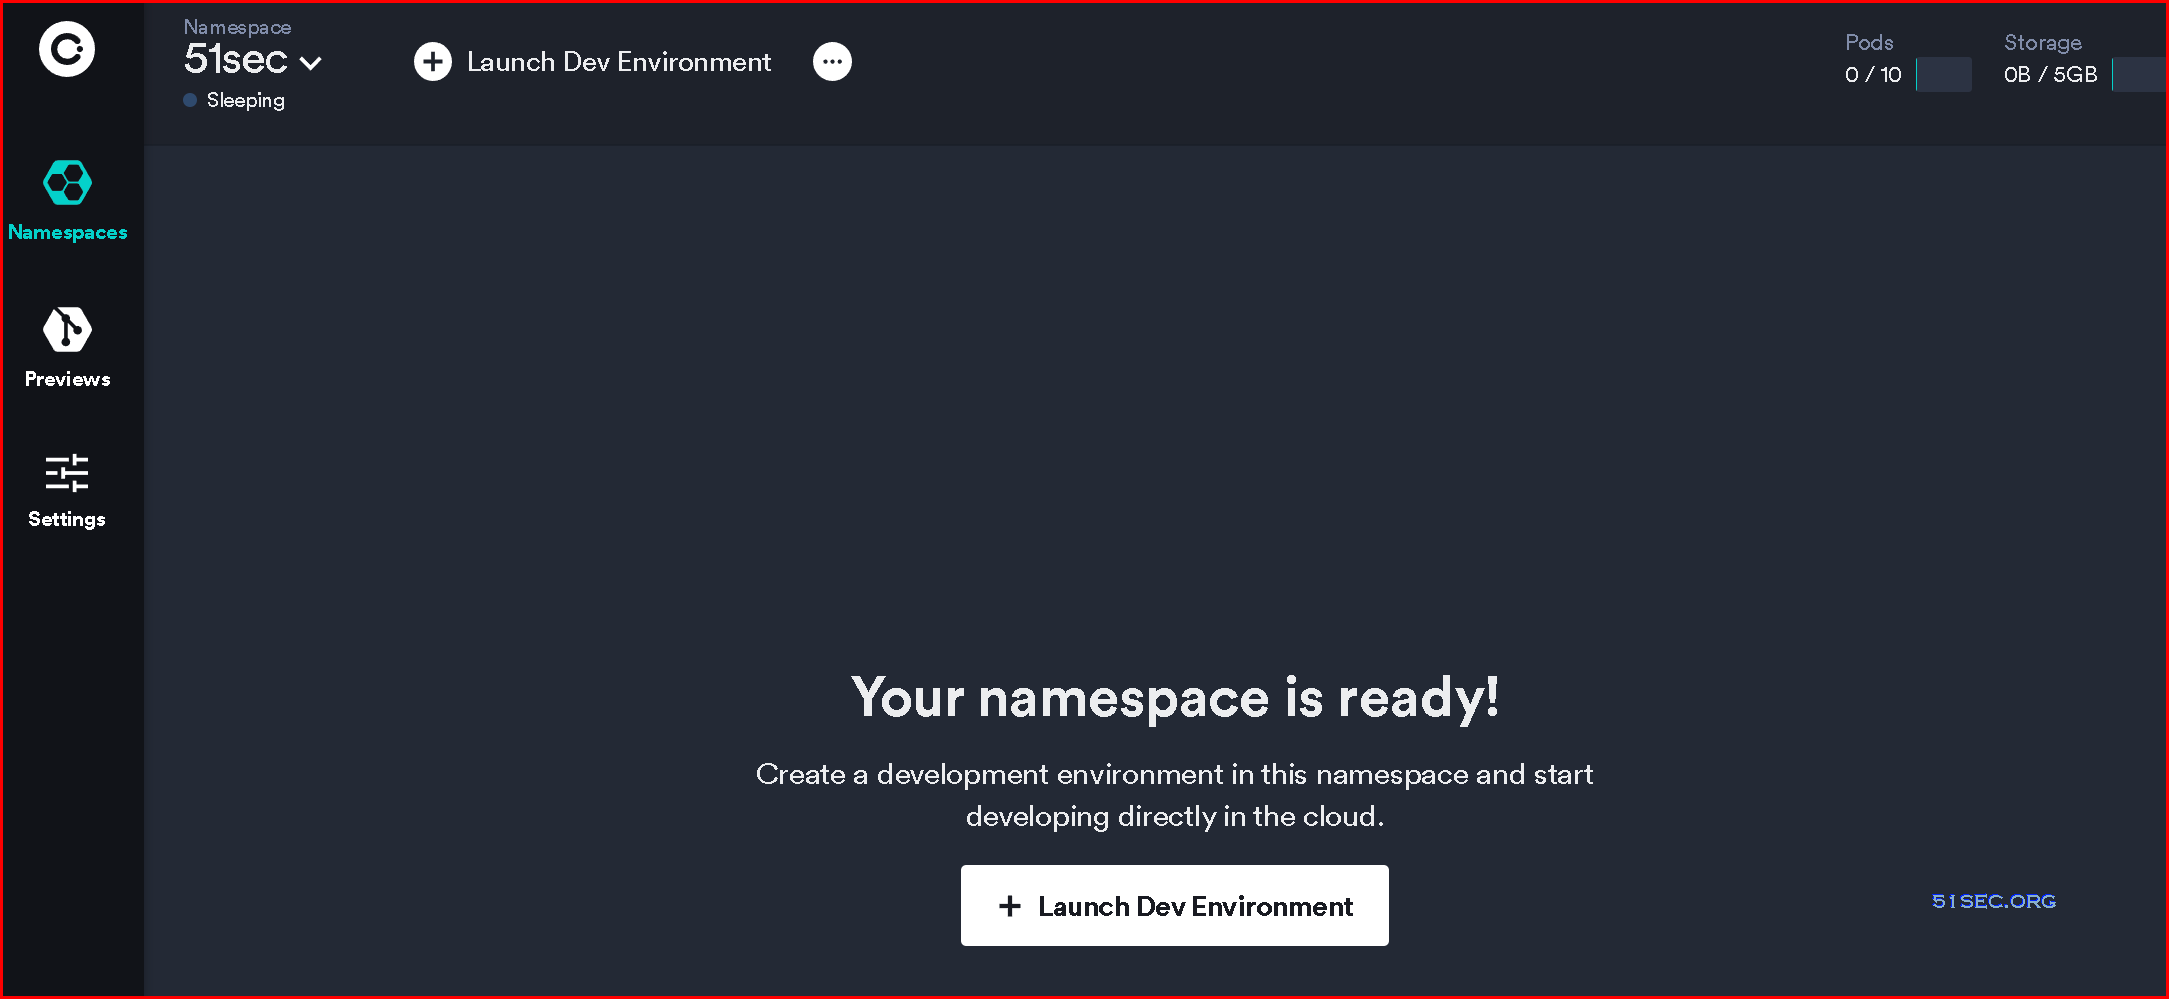
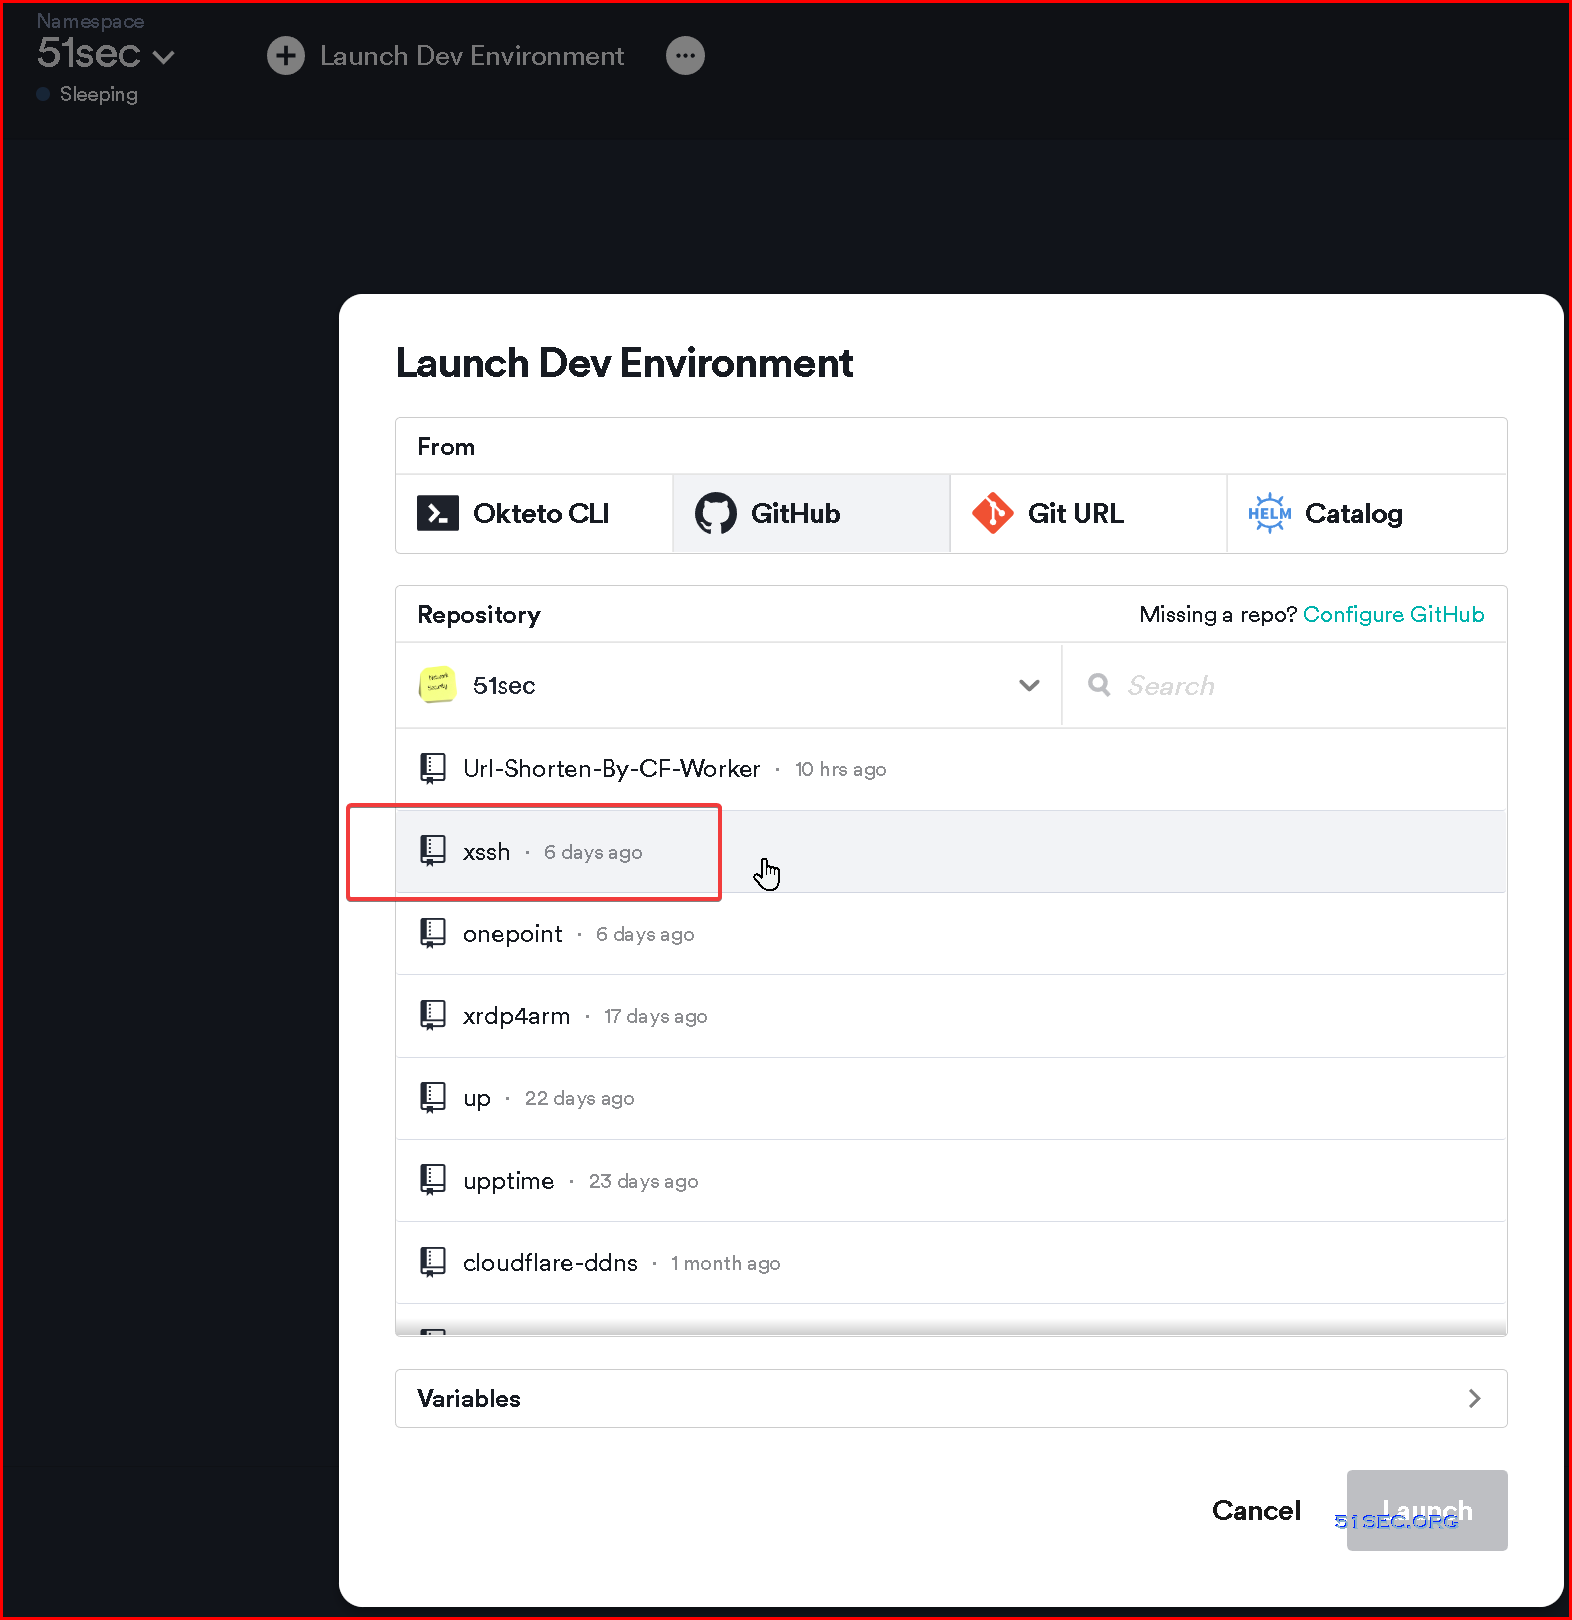
6 Launch Dev Environment
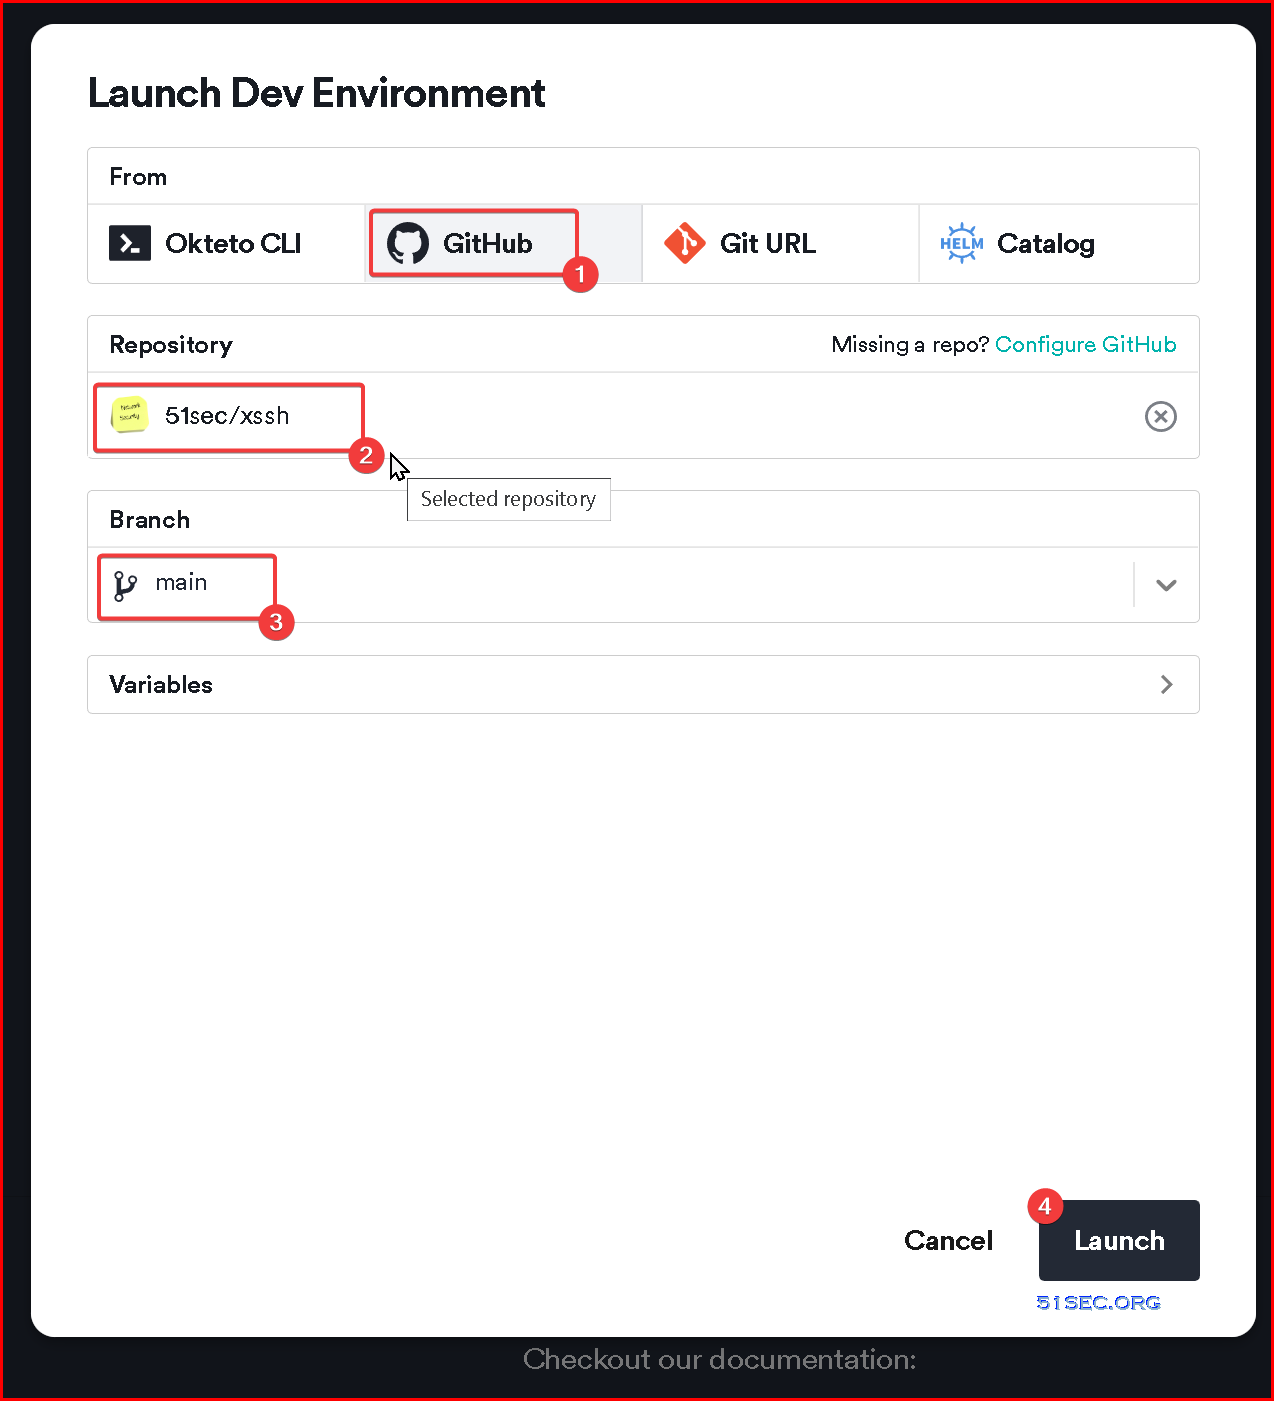
7 Choose from Github, then select your xssh repository
8 Select main branch then launch
9 Your xssh project will be deployed in a minute.
10 You will be able to see a new agent shows in Ngrok’s Tunnels menu page.
Create Your Own Image
docker run -d -it ubuntu bash
docker ps
docker exec -it xxxxxxxxxxxxxxxx bash
apt install nano -y
apt install wget -y
apt install unzip -y
apt install ssh -y
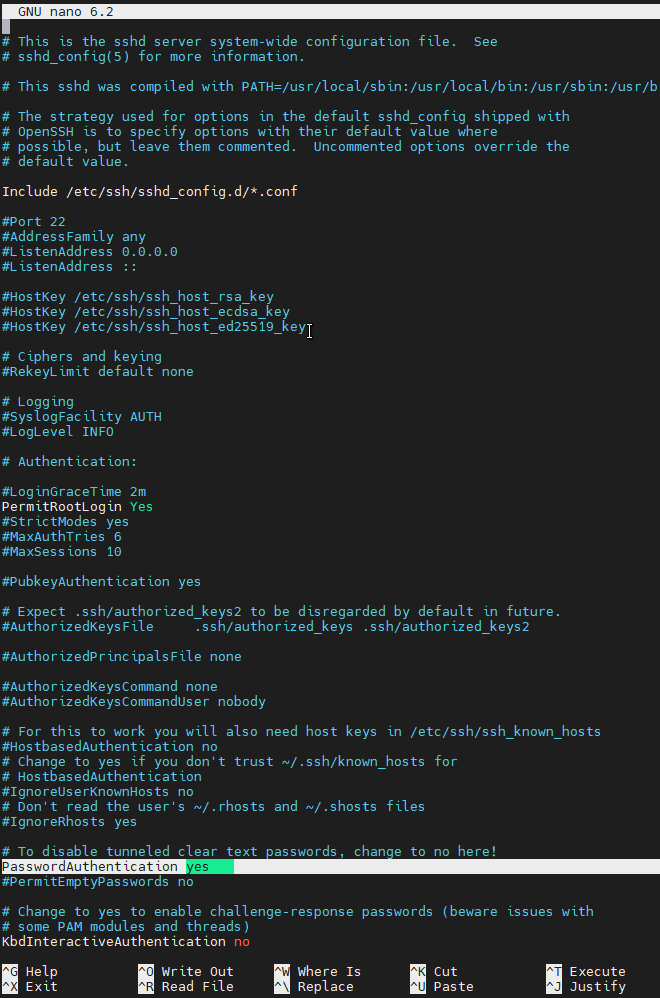
nano /etc/ssh/sshd.config
PermitRootLogin Yes
service ssh restart
passwd root
wget https://bin.equinox.io/c/4VmDzA7iaHb/ngrok-stable-linux-amd64.zip
unzip ngrok-stable-linux-amd64.zip
ls
rm ngrok*.zip
ngrok authtoken 2C8vUaTWbwplW7bMlWggllXwY7V_2vJaHYXyYZUbiuxRrXuzc
ngrok
nohup ngrok tcp 22
apt install htop
htop
References
- https://github.com/51sec/xssh-1/
- https://github.com/majalaya/xssh
- https://github.com/MetaVPS/xssh
- 永久免费4核32G的LinuxVPS
