1. Download Zabbix Agent
Make sure you are using same version as your Zabbix server.
 https://www.zabbix.com/download_agents
I am using Zabbix 4.0 LTS, so here is my download link for Windows Agent:
https://www.zabbix.com/downloads/4.0.17/zabbix_agent-4.0.17-windows-amd64-openssl.msi
https://www.zabbix.com/downloads/4.0.17/zabbix_agent-4.0.17-windows-i386-openssl.msi
2. Install Zabbix Agent
By default, it will install your agent as passive mode
2.1 Verify ports
For passive mode:
C:\Users\John>netstat -na | find “100”
TCP 0.0.0.0:10050 0.0.0.0:0 LISTENING
TCP [::]:10050 [::]:0 LISTENING
### Option: StartAgents
# Number of pre-forked instances of zabbix_agentd that process passive checks.
# If set to 0, disables passive checks and the agent will not listen on any TCP port.
#
# Mandatory: no
# Range: 0-100
# Default:
# StartAgents=3
StartAgents=0
Remove following default passive related Server= settings.
### Option: Server
# List of comma delimited IP addresses, optionally in CIDR notation, or DNS names of Zabbix servers and Zabbix proxies.
# Incoming connections will be accepted only from the hosts listed here.
# If IPv6 support is enabled then ‘127.0.0.1’, ‘::127.0.0.1’, ‘::ffff:127.0.0.1’ are treated equally and ‘::/0’ will allow any IPv4 or IPv6 address.
# ‘0.0.0.0/0’ can be used to allow any IPv4 address.
# Example: Server=127.0.0.1,192.168.1.0/24,::1,2001:db8::/32,zabbix.domain
#
# Mandatory: yes, if StartAgents is not explicitly set to 0
# Default:
# Server=
### Option: ListenPort
# Agent will listen on this port for connections from the server.
#
# Mandatory: no
# Range: 1024-32767
# Default:
# ListenPort=10050
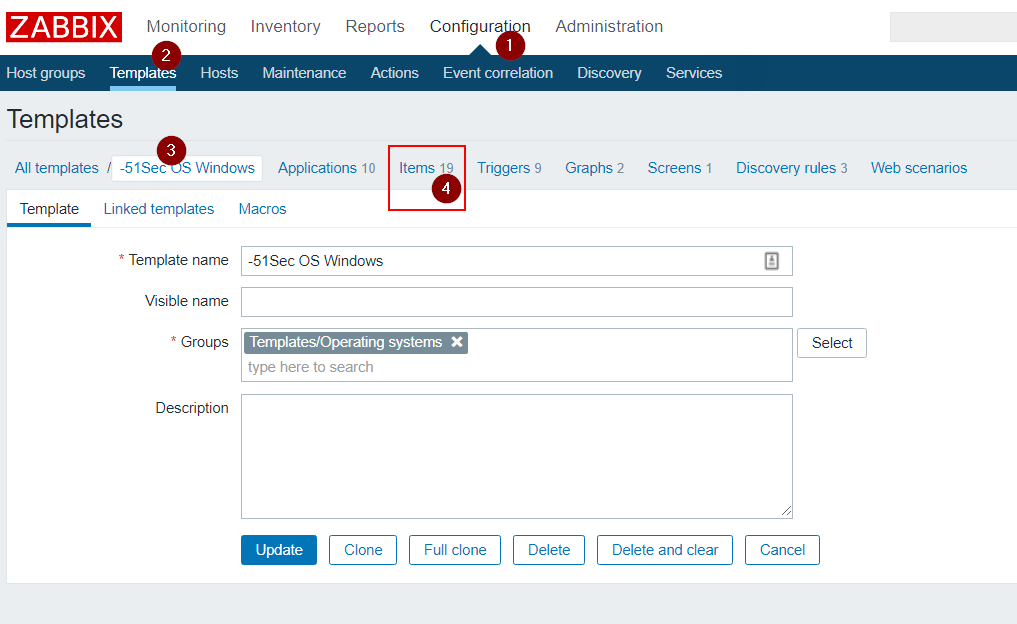
2.4 Make New Templates with ‘Zabbix Agent (active)’
Before I start changing hosts from passive to active checks, I needed to
make three new templates-objects. For each of
‘Template App Zabbix Agent’, ‘Template OS Linux’ and
‘Template App MySQL’, do:
– Go to Configuration : Templates, select template $name
– scroll down, click ‘Full Clone’. Change the clone’s name to “$name
Active” and click ‘Add’ at the bottom.
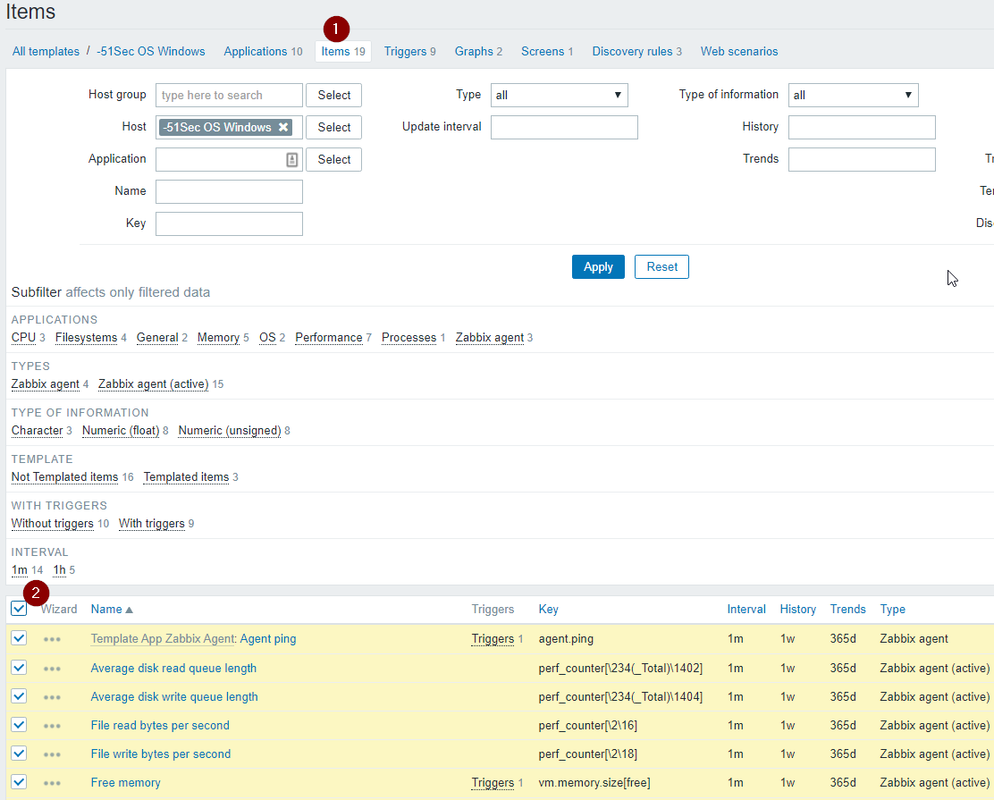
– In Configuration : Templates, Find the new “$name Active” template,
click on the ‘Items’ item on its row.
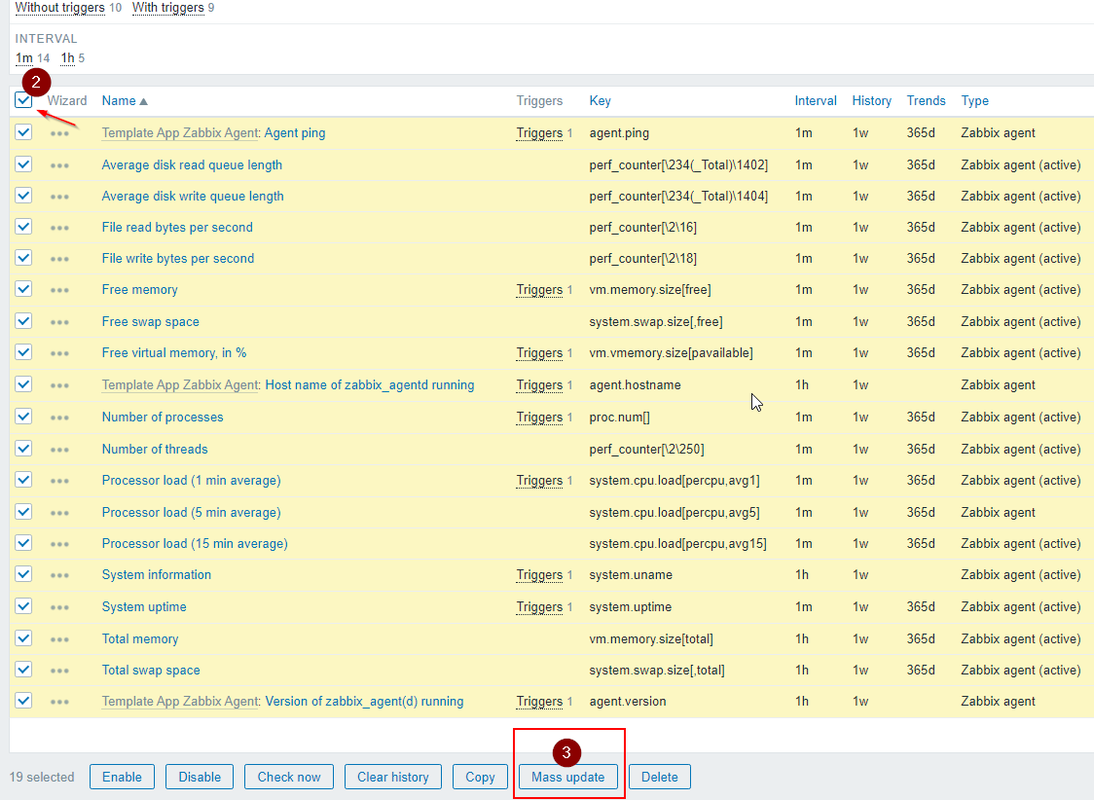
– Click on the checkbox in the upper-left to select all rows, scroll
down to the drop-down and select ‘Mass Update’ and click ‘Go’
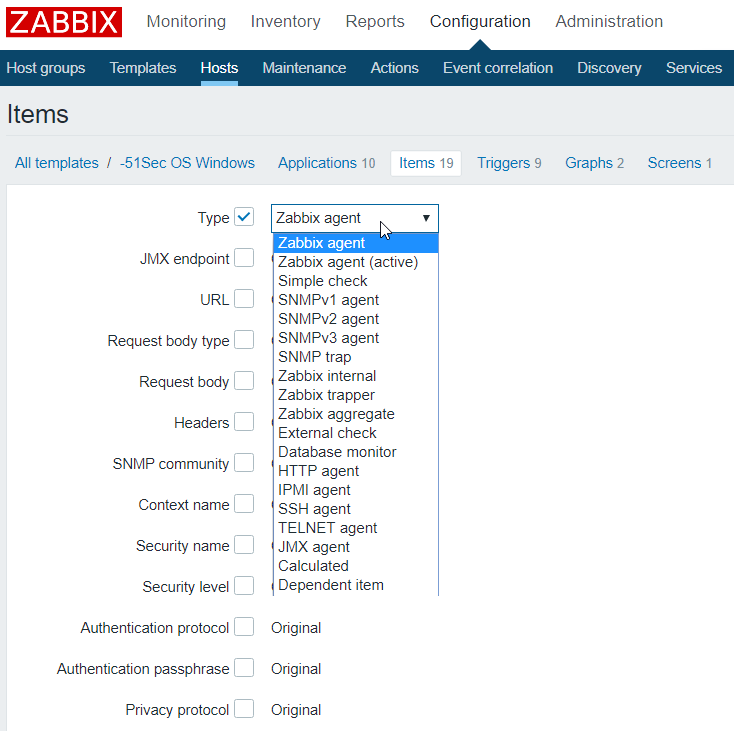
– Click the checkbox for ‘Type’ and select ‘Zabbix Agent (active)’ in
the dropdown that appears. Scroll down and click the ‘Update’ button.
Zabbix-Configuration-Template-Create/Clone a new Windows Template
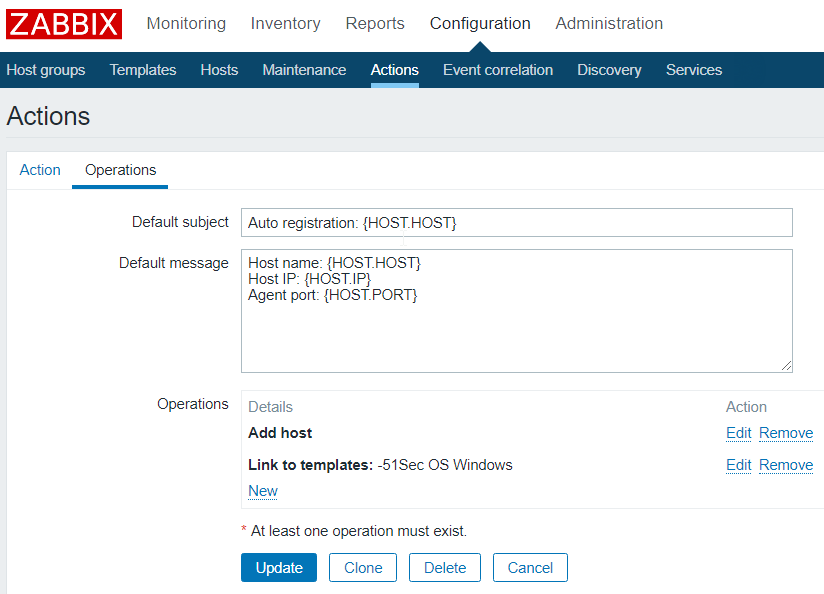
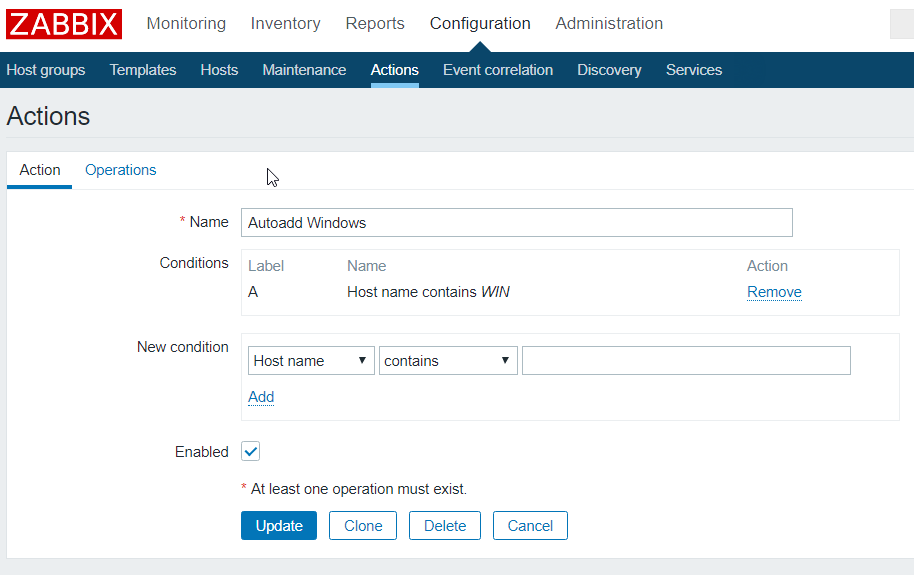
Zabbix-Configuration-Template-Action-AutoRegistration
