GitHub is a Git repository hosting service, but it adds many of its own features. While Git is a command line tool, GitHub provides a Web-based graphical interface. It also provides access control and several collaboration features, such as a wikis and basic task management tools for every project.
This post is going to show some basic GitHub usage during my learning.
- Create a new repository
- Create your first new file
- Fork
- Get the link to direct download file
Create a New Repository
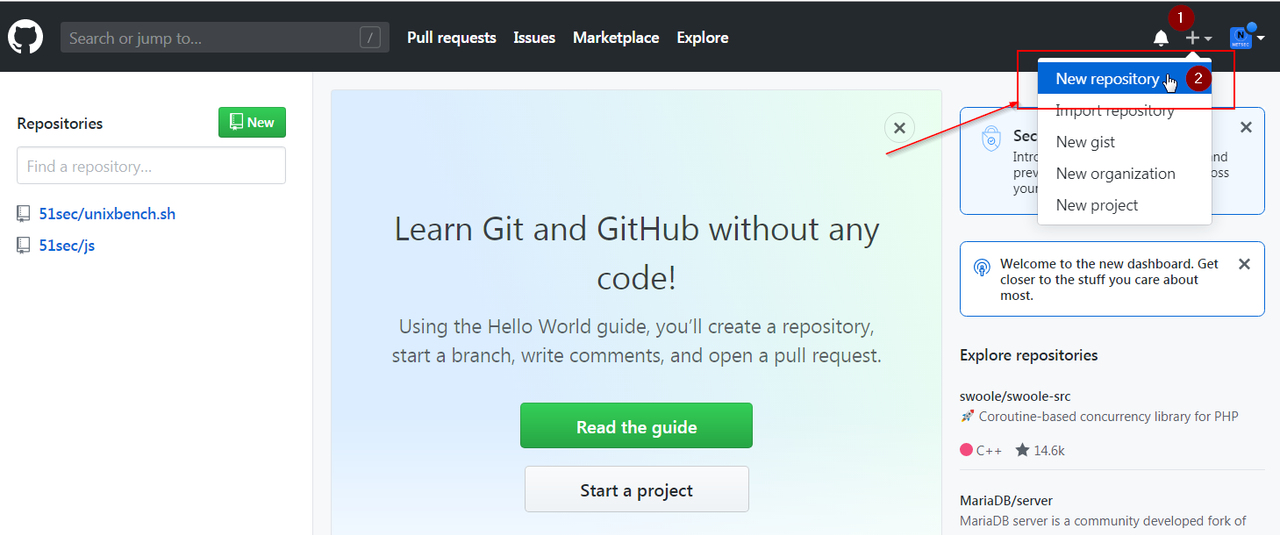
After you created your account and logged in, you will see following interface and you can click + button on the top right corner of your page. Select new repository from drop down menu to start your GitHub journey.
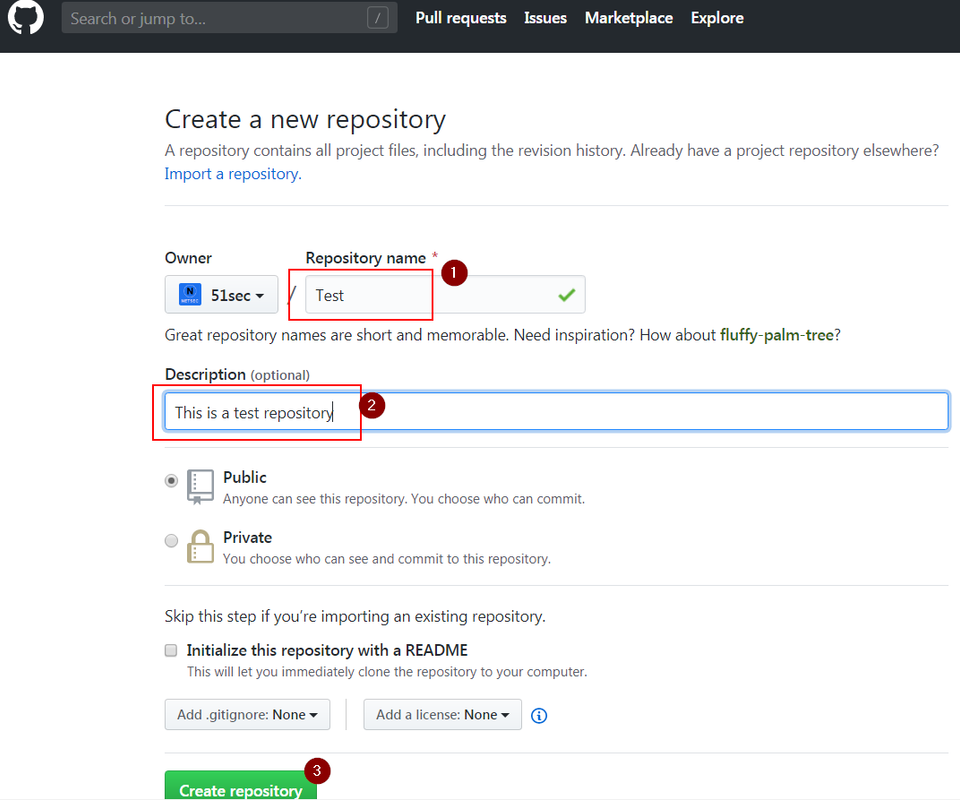
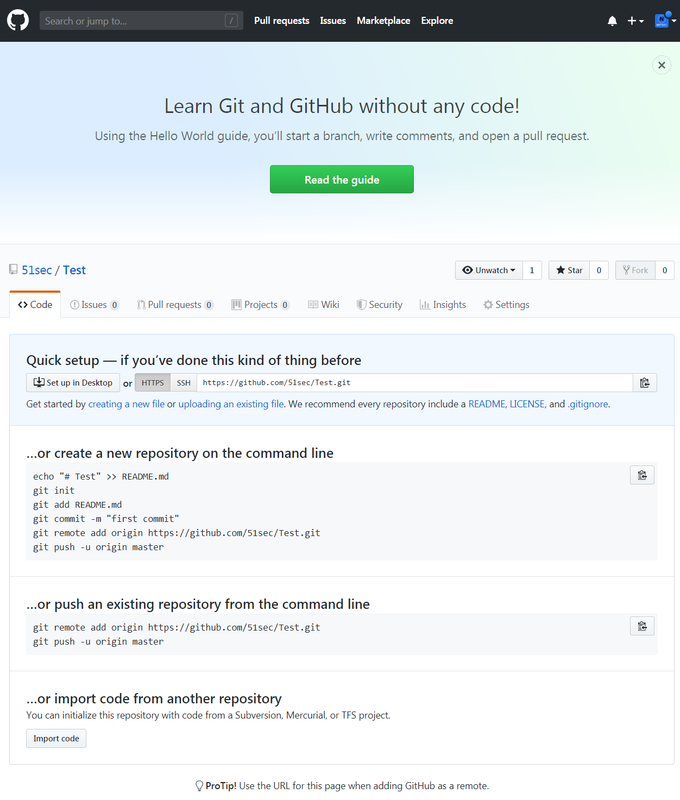
You will just need to enter your repository name and optional description, then click ‘create repository’ button.
Create a New File
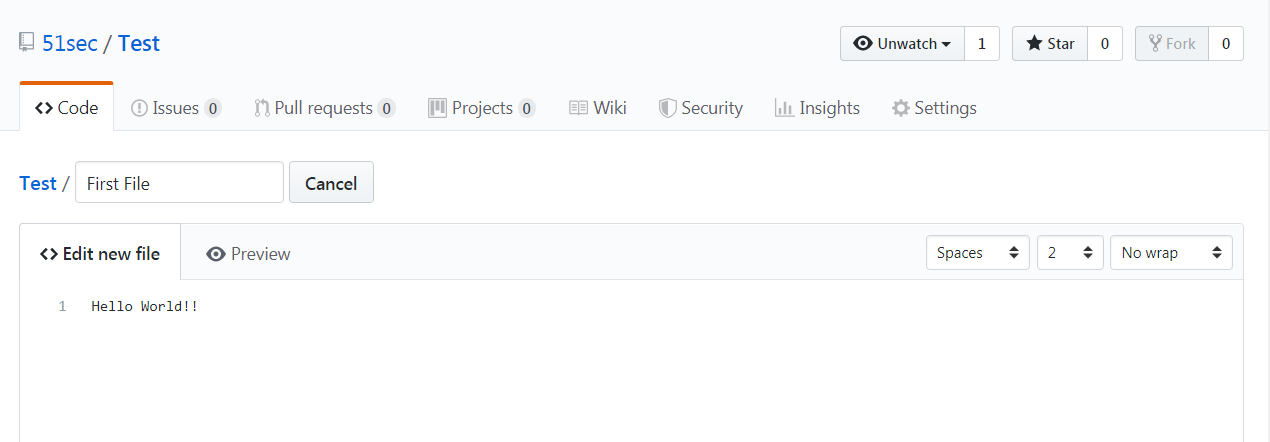
Here is my first new file, ‘Hello World!!’
Fork
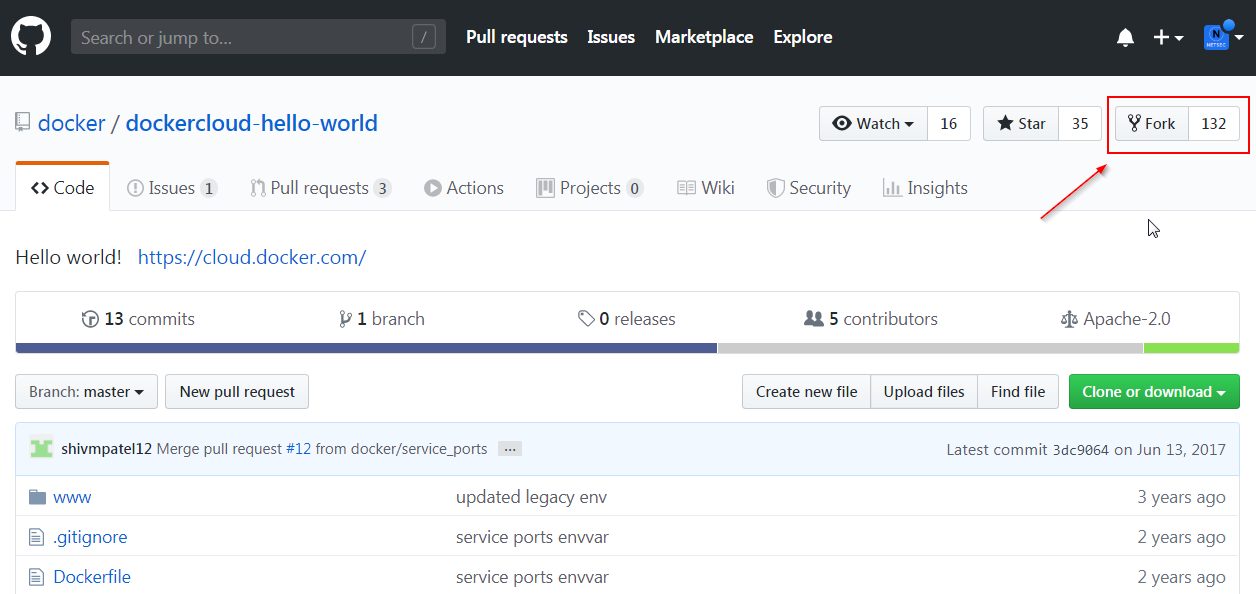
If you find others project is interesting and you want to modify or use it for yourself, you can fork it. A fork is a copy of a repository. Forking a repository allows you to freely experiment with changes without affecting the original project.
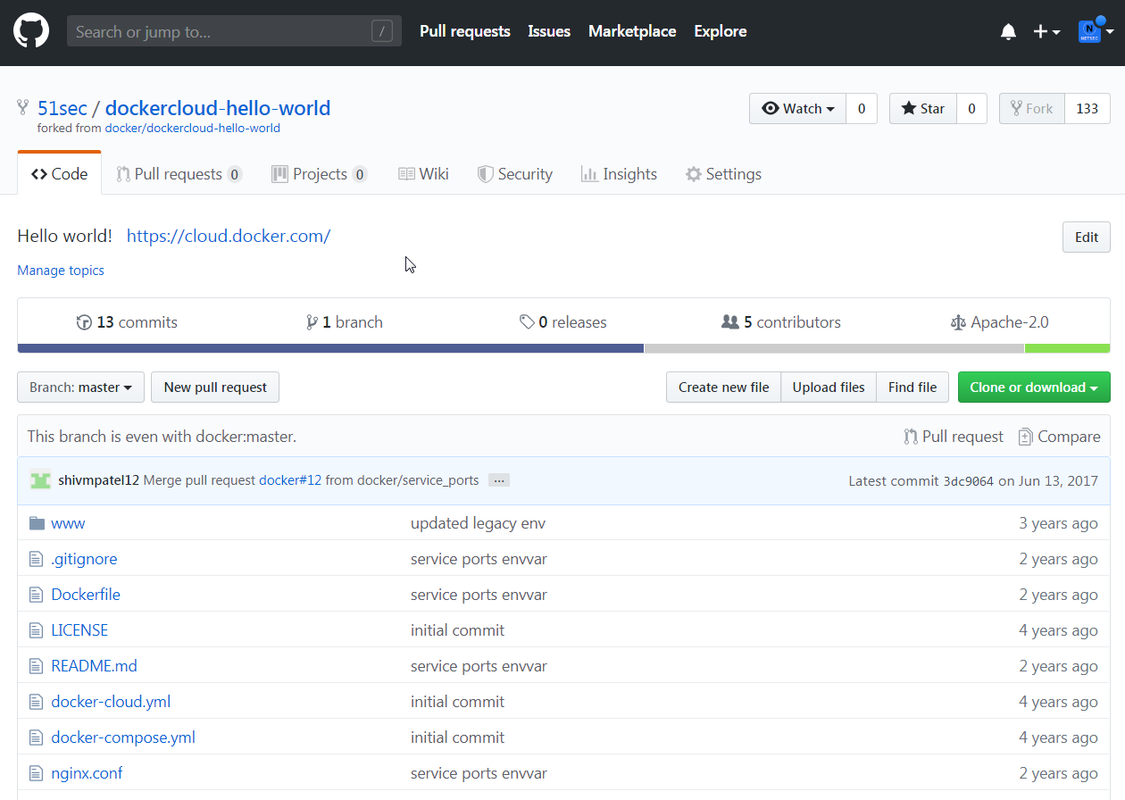
After you clicked fork, it will be copied to under your account with same repository name your forked. Everything will be copied to this new repository for you to use. Here is a screenshot how it looks like after I forked this dockcloud-hello-world project.
Get GitHub File Download Link
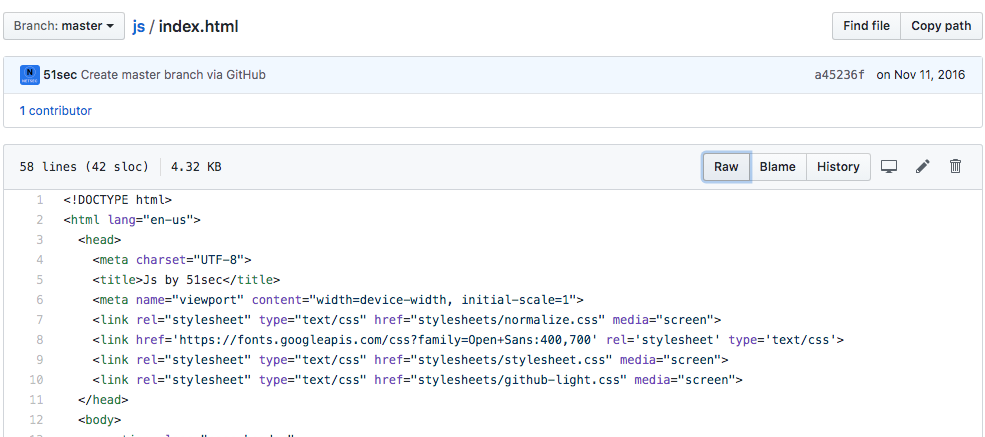
Navigating through the directory tree in a repository until we’re able to open up a preview of the contents, then, click (or control-click) on the Raw button on the top right, and once the page opened, copy the link for directly downloading to use.
In the cases where a data file is too large to preview, then there won’t be a Raw button – instead, right click on the Download button and save the link address.
