Based on Wikipedia, PyCharm is an integrated development environment (IDE) used in computer programming, specifically for the Python language. It is developed by the Czech company JetBrains. It provides code analysis, a graphical debugger, an integrated unit tester, integration with version control systems (VCSes), and supports web development with Django.
PyCharm is cross-platform, with Windows, macOS and Linux versions. The Community Edition is released under the Apache License, and there is also Professional Edition with extra features, released under a proprietary license.
This post and related YouTube video will show you the step by step installation.
1. Download Free Community Version
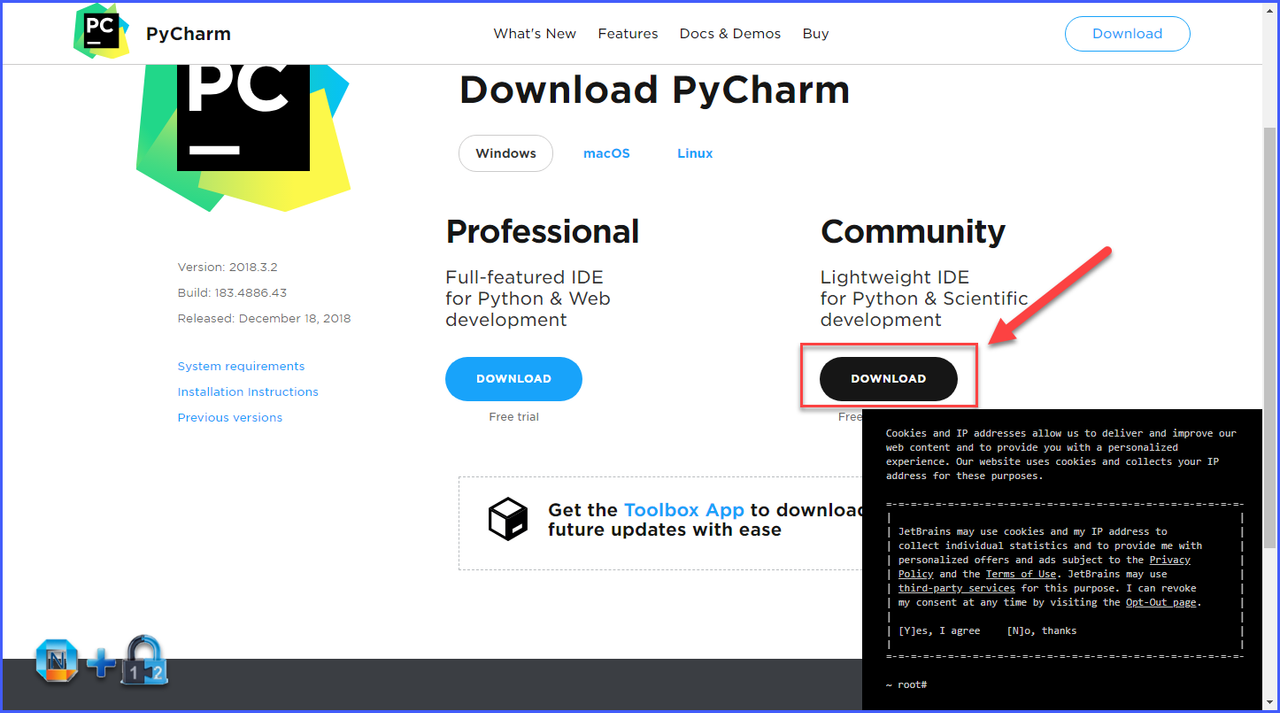
From download URL: https://www.jetbrains.com/pycharm/download/#section=windows, we will get a 212MB file : pycharm-community-2018.3.2.exe.
2. Double Click Downloaded File to Start Installation
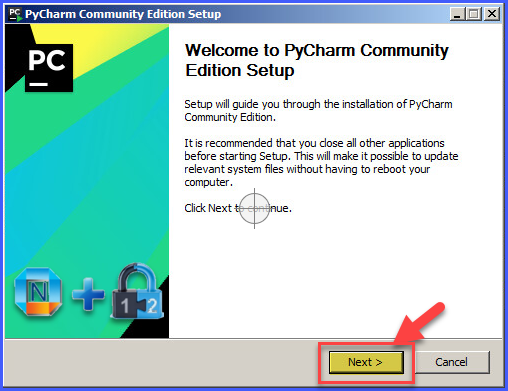 |
| PyCharm Setup Welcome Screen |
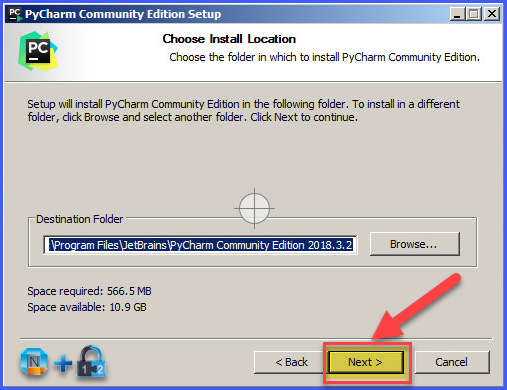
3. Choose Installation Destination Folder
By default, it will be under your system driver’s Program Files folder. If you have another bigger size driver, you can choose it as your installation destination folder.
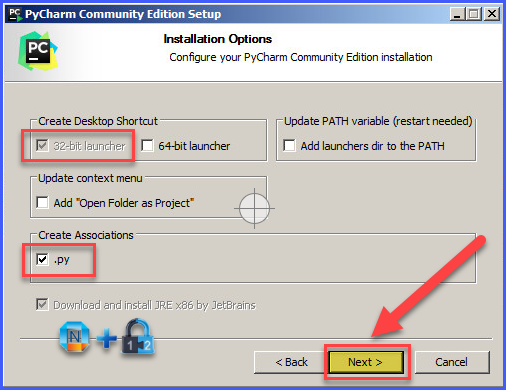
4. Installation Options
If you are using 64 bits operation system, you can choose between 32-bit launcher and 64-bit launcher. Choose the option to create associations with .py file extension. It will enable PyCharm to open your .py files when you double click your .py files.
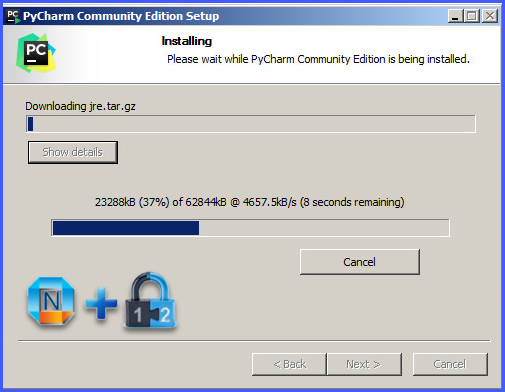
5. Installation Program download JRE and install it for you
If you OS does not install JRE before, the installation program will do it for you automatically. JRE will is about 62MB.
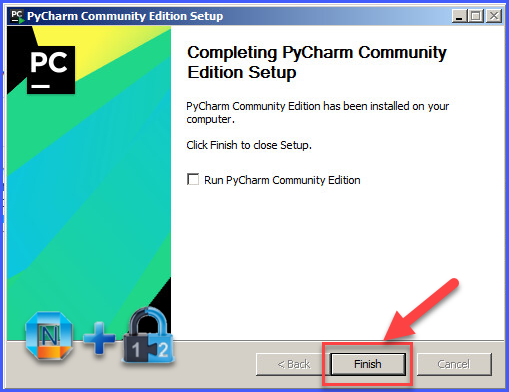
6. Completing PyCharm Setup
You might need to wait 2-3 minutes depending on your computer performance to get Completing PyCharm window.
7. Click Finish. Doubleclick PyCharm icon on your desktop to launch it
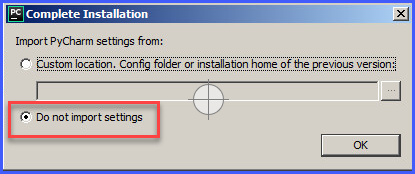
It will bring up a Complete Installation window to let you import previous settings you used before. For our post, we can ignore this and click OK to continue.
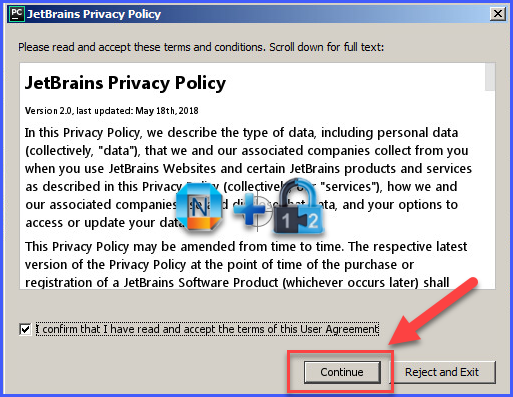
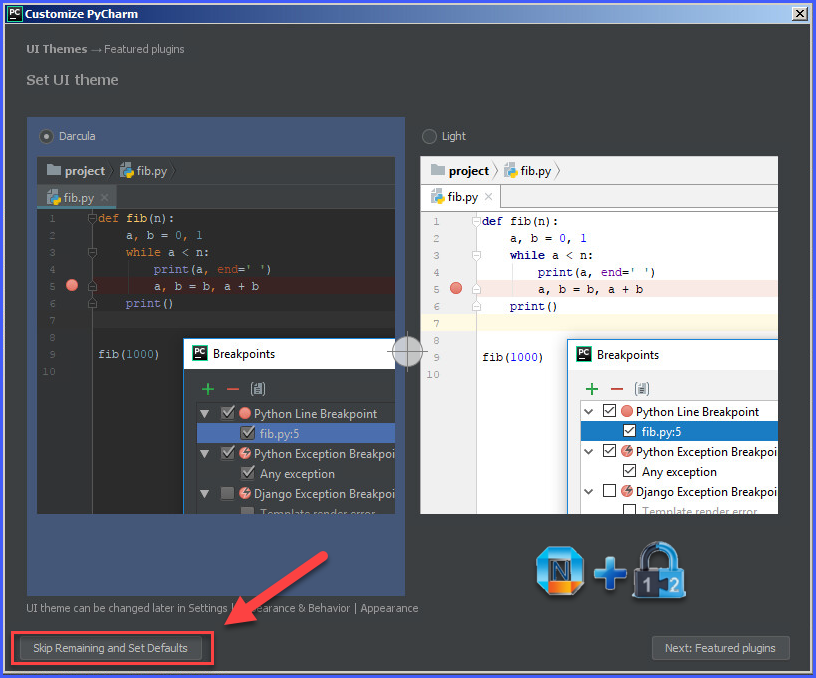
8. Accept JetBrains Privacy Policy
9. Launch PyCharm
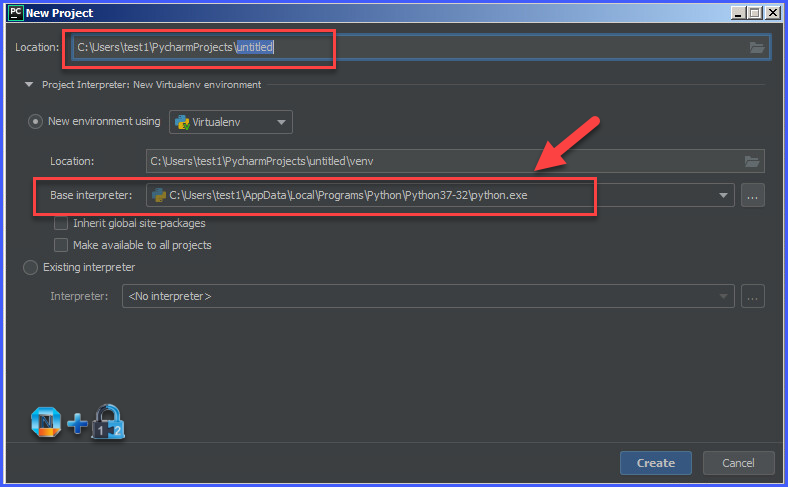
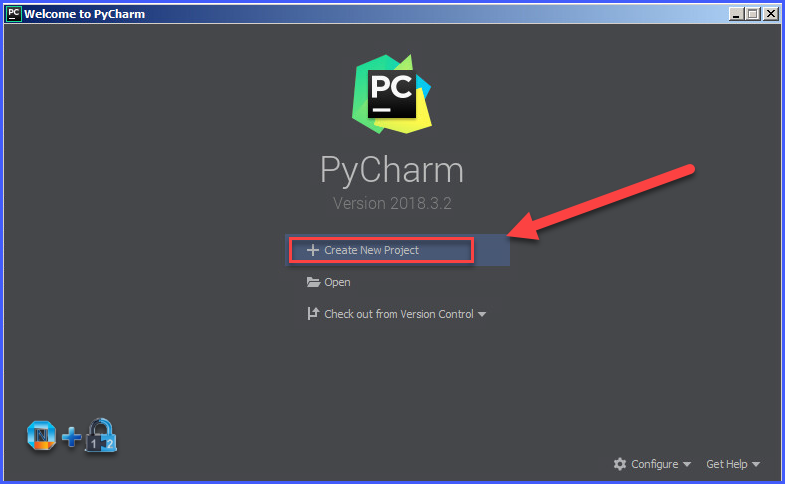
10. Create your first project
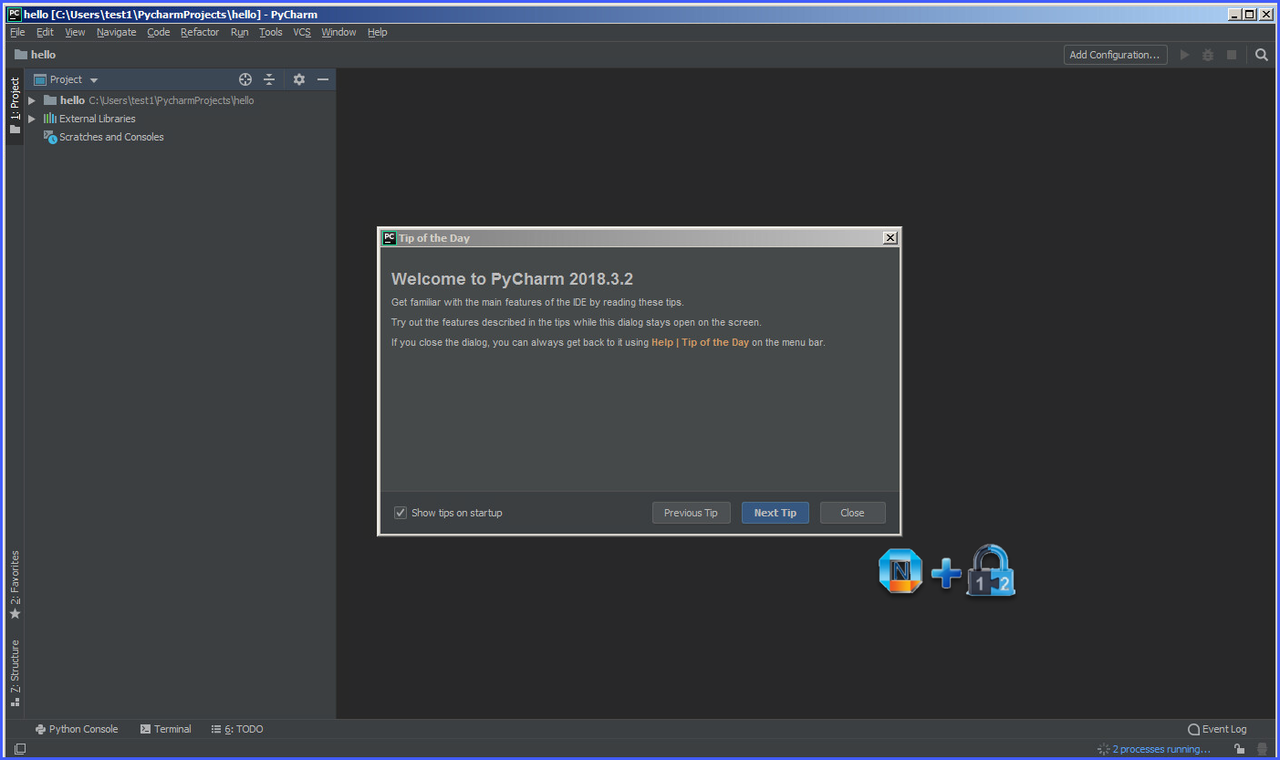
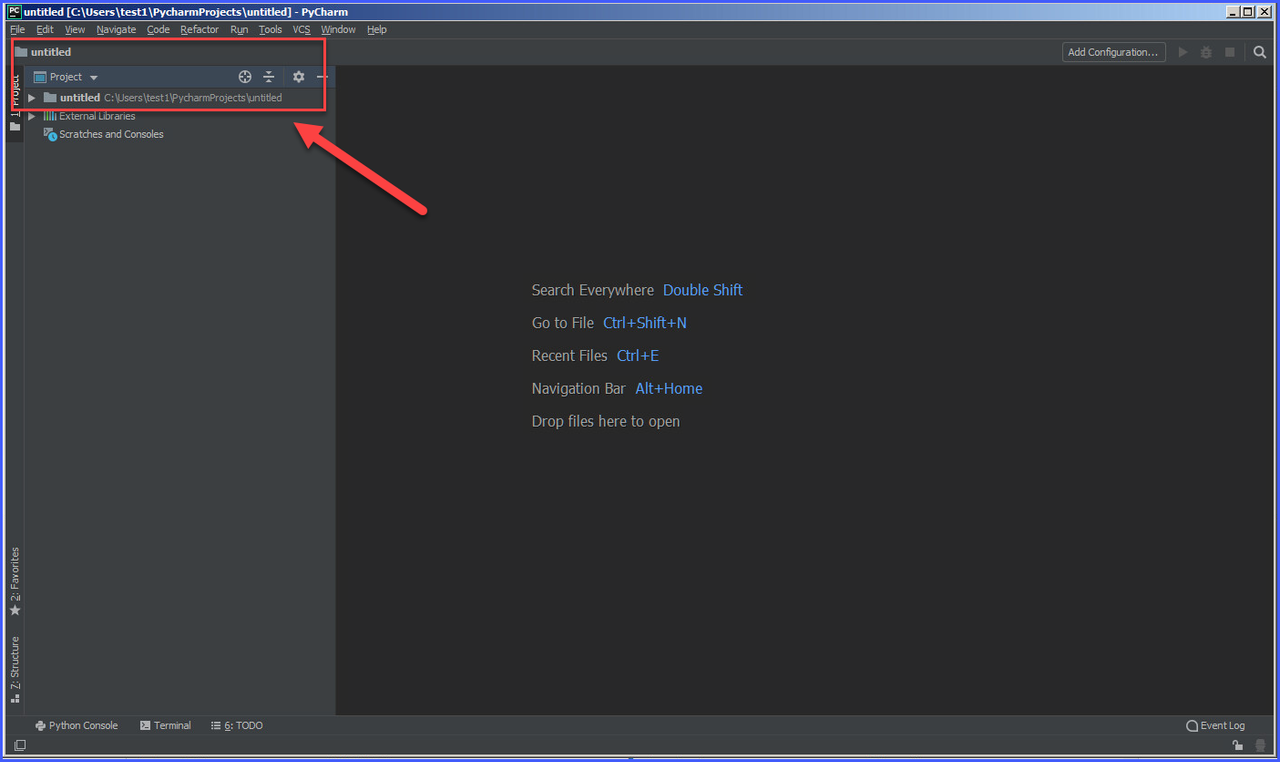
11. PyCharm IDE Environment with Your Project
Tips and Tricks:
IDEA,eclipse,vim的配色方案. 支持InteliJ IDEA 、PhpStorm、 PyCharm、 RubyMine、 WebStorm、 AppCode 等所有JetBrains家族ide。 PyCharm Usage:
- 菜单-> File->Import Setting.选择你下载的jar文件;
- 重启IDE之后配置:打开File->Settings->Editor->Colors and fonts 然后选择你安装的主题即可完成
References:
- 编程工具篇
- pycharm使用及设置方法
- PyCharm入门第一步(一)——创建并运行第一个Python项目
- PyCharm入门第一步(二)——调试第一个Python应用程序
- PyCharm入门第一步(三)——测试第一个Python应用程序
- PyCharm入门第一步(四)——创建和运行第一个Django项目
- PyCharm入门教程——掌握PyCharm键盘快捷键
- PyCharm入门教程——用户界面导览
- PyCharm入门教程——IDE概要
- PyCharm入门教程——PyCharm编辑器
- PyCharm入门教程——基本编辑程序
- PyCharm入门教程——在编辑器中打开和重新打开文件
- PyCharm入门教程——在编辑器中关闭文件
- PyCharm入门教程——在编辑器中选择文本
- PyCharm入门教程——剪切、复制和粘贴
- PyCharm入门教程——注释和取消注释代码块
- PyCharm入门教程——撤消和重做更改
Notes:
在编辑器和其他工具窗口之间导航
- Ctrl+`:切换schemes, keymaps, or view modes.
在“Switch”(切换)菜单中,选择选项并按Enter键。使用相同的快捷方式撤消更改。
您还可以在File | Settings/Preferences | Editor | Color Scheme中查找和调整颜色方案设置,以及在File | Settings/Preference | Keymap中查找和调整键映射设置。 - Ctrl+Shift+F12:最大化编辑器窗格。
在这种情况下,pycharm会隐藏所有其他窗口,因此只有当前工作的编辑器是打开的。 - Escape:将 focus从其他窗口切换到活动编辑器。
- Shift+F12:返回默认布局。
在这种情况下,pycharm会隐藏“Project”窗口。但是,您可以从主菜单中选择Window | Store Current Layout as Default,将正在使用的当前布局保存为默认布局,并使用相同的快捷方式将其还原。 - F12:跳到您使用的最后一个活动窗口。
在编辑器中导航
行号
- Show line numbers: 默认情况下,pycharm在编辑器中显示行号。如果不想查看行号,请选择Settings/Preferences | Editor | General | Appearance,然后从右侧的选项中选择显示行号。也可以为“Show line numbers”操作指定快捷方式。
- Ctrl+G :要在编辑器中导航到特定的行或/和列,请按此快捷方式。在打开的对话框中,使用:作为分隔符指定行或列号,或同时指定两者,然后单击“OK”。
光标位置和编辑位置
- Ctrl+M:在编辑器中查找当前光标位置。
如果您有一个大型项目,不想在文件中滚动,此操作可能会有所帮助。 - Alt+Q:查看光标当前定位的元素。
- Ctrl+Alt+Left:查找上一个光标位置。
- Ctrl+Shift+Backspace:导航到上次编辑的位置。
- Ctrl+Shift+E:显示最近编辑的文件列表。
- Ctrl+E:查看最近的文件。
Lens模式
- 按Ctrl+Alt+S打开“Settings/Preferences”对话框。
- 从左侧的选项中,选择Editor | General | Appearance。
- 从右侧的选项中,清除Show code lens on the scrollbar hover。
Breadcrumbs
- 要更改Breadcrumbs的位置,请右键单击Breadcrumbs,从上下文菜单中选择Breadcrumbs和位置首选项。
- 要编辑Breadcrumbs设置,请按Ctrl + Alt + S,然后在打开的页面上选择Editor | General | Breadcrumbs。 在Breadcrumbs页面上,调整设置并单击OK。
