1. Ubuntu16.04 Installation
1.1 VMware Workstation Virtual Machine Creation for not easy installation
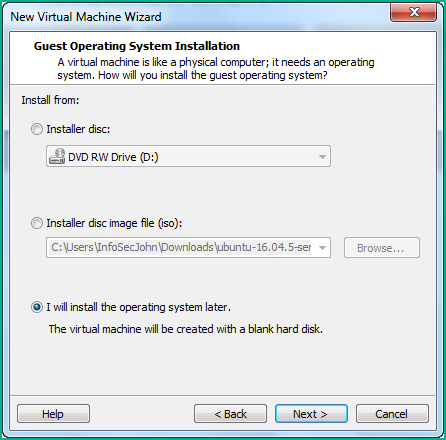
If you are using VMware workstation , by default, system will do easy installation for you, which means all settings will be automatically entered by VMware Workstation. You wont need to provide too much or any information during installation process. We are not going to use this method in this post. We just choose the option “I will install the operating system later” to skip easy installation.
YouTube Video:
Easy Install vs Non Easy Install
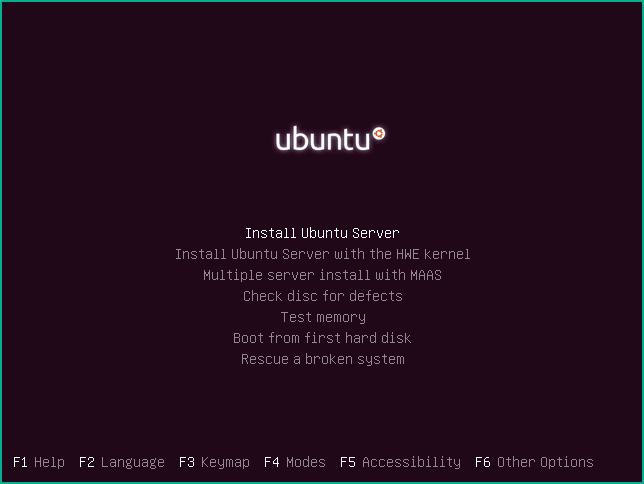
1.2 Ubuntu 16.04.5 LTS Installation Steps
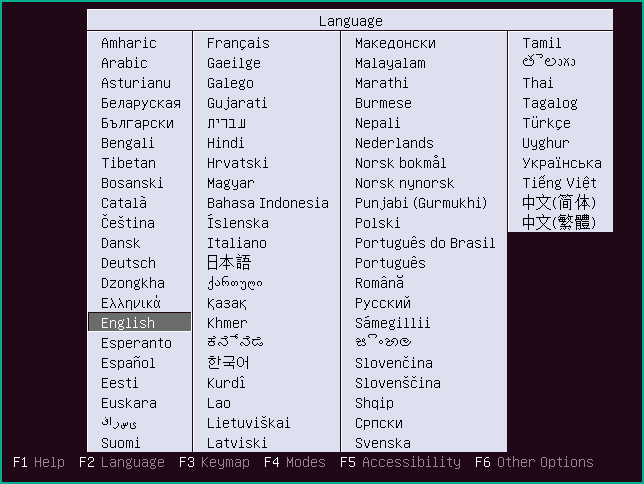 |
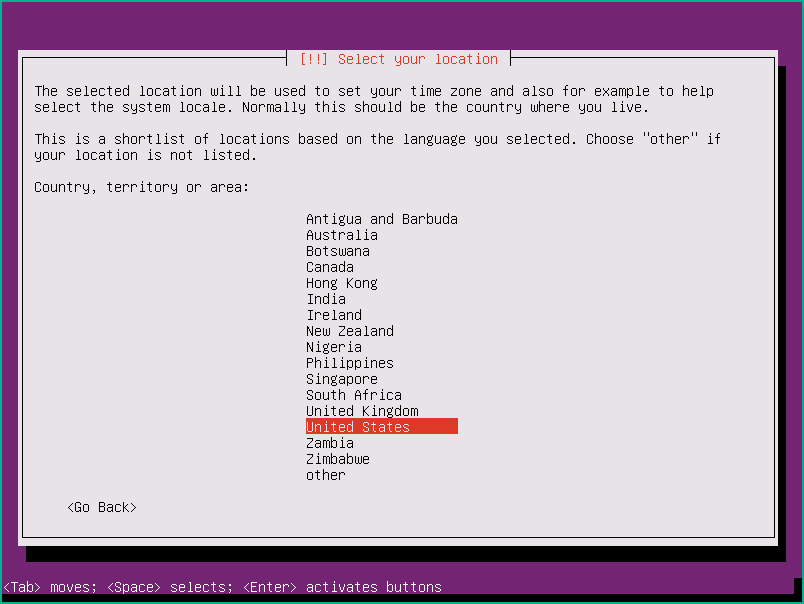
| Language Selection |
Enter
Choose “English”
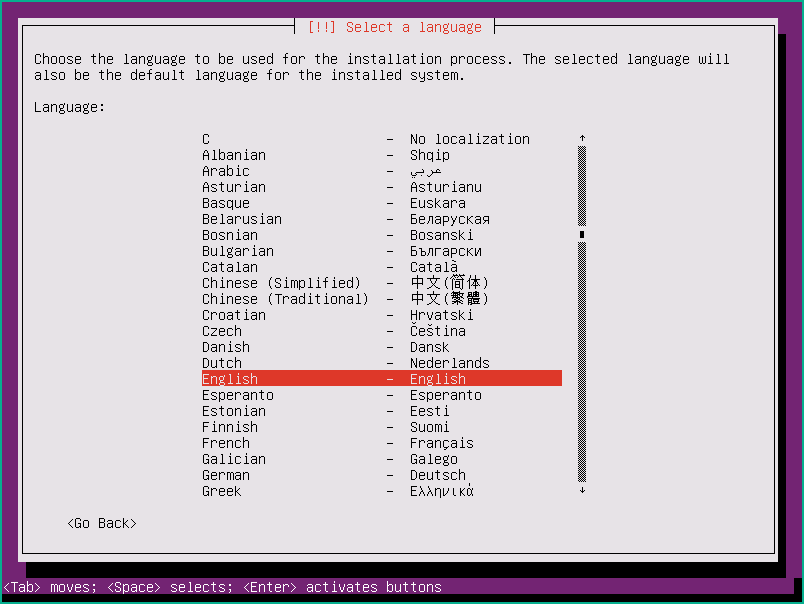
Enter
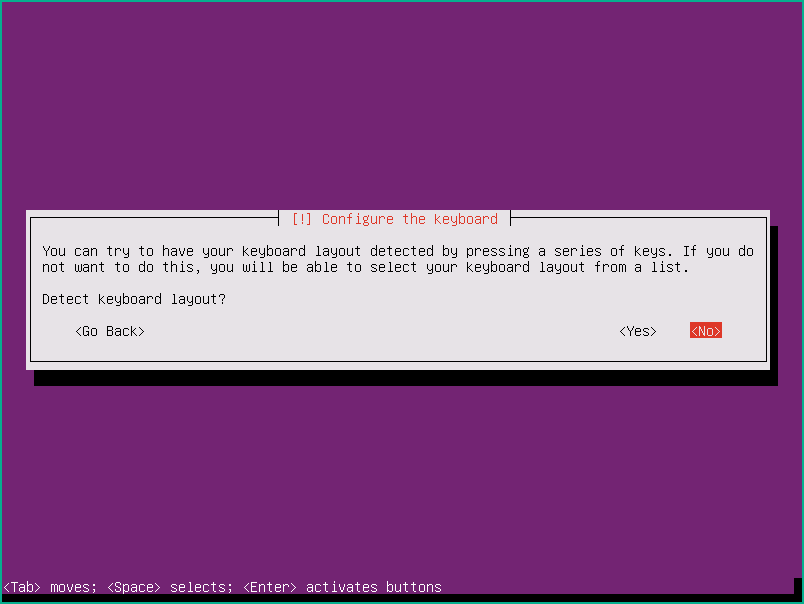
Choose ‘No’,for Configure the keyboard, enter
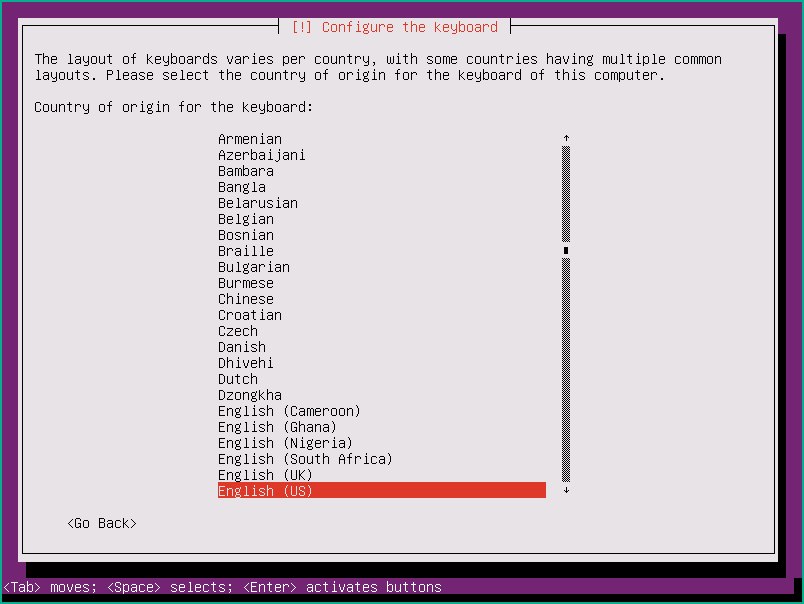
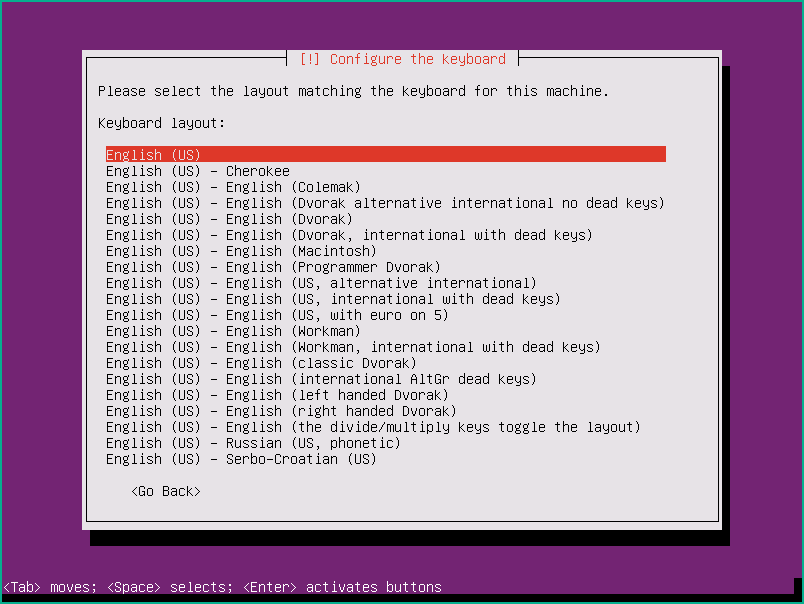
Select English (US), Enter
Enter
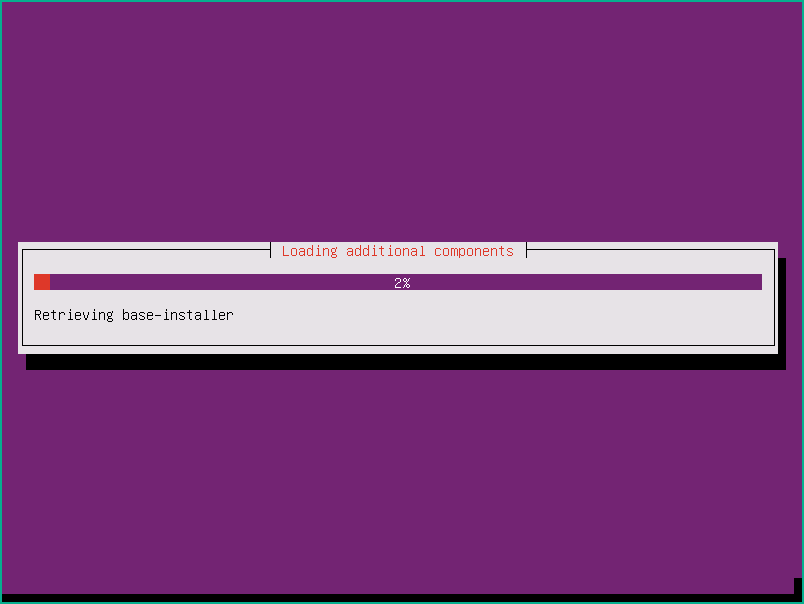
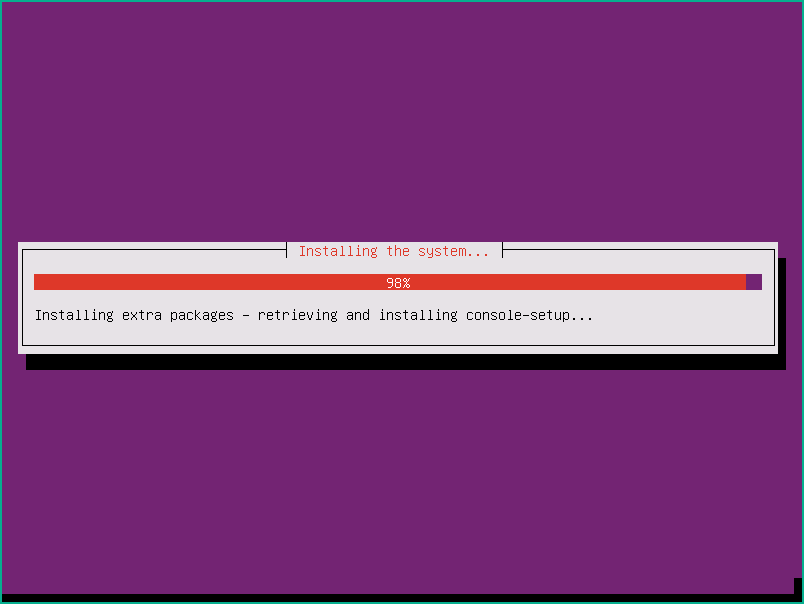
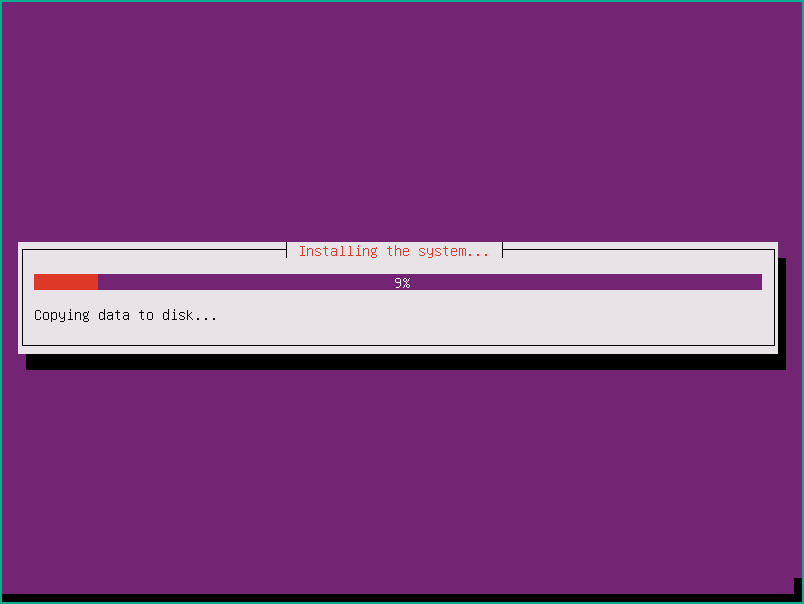
Installing…
If you have multiple network cards, you will have to choose one as the primary network interface to configure it.

It will try to automatically configure it.

DHCP configuration failed,Enter.

Manually configure it

Configure an ip

Network mask

Gateway

name server can be set as blank if you do not have one.

If DHCP was successful to get you all ip information, or you manually configured it, next step is to configure Hostname

domain name is empty

Create a new user: test

Enter to continue
Set up password
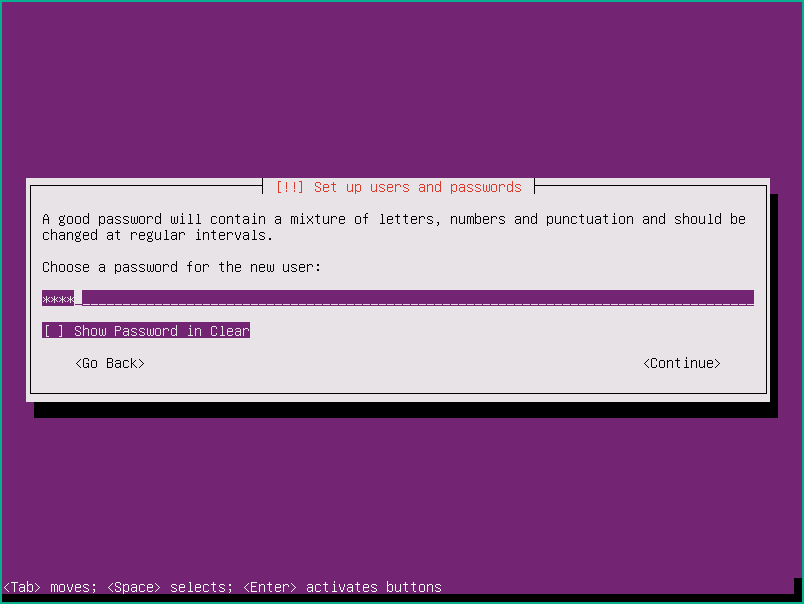
Confirm password and enter

Choose Yes to confirm to use weak password

Choose No , not to encrypt home folder.
Installation program will pick a time zone based on your ip location.
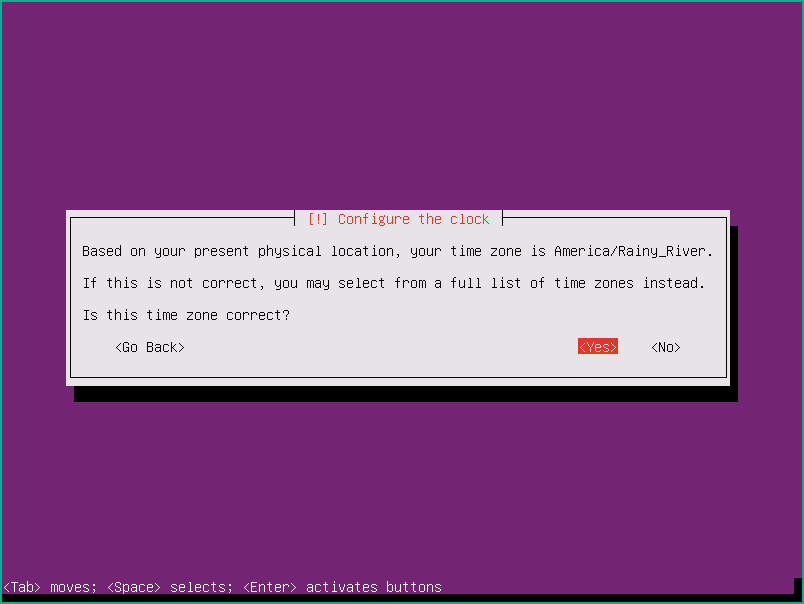
If your location could not be located, you will choose a time zone manually.

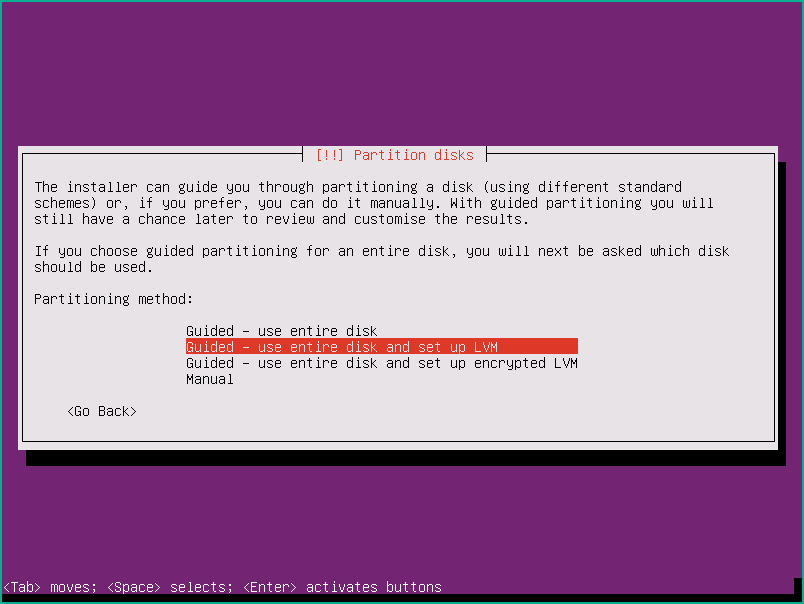
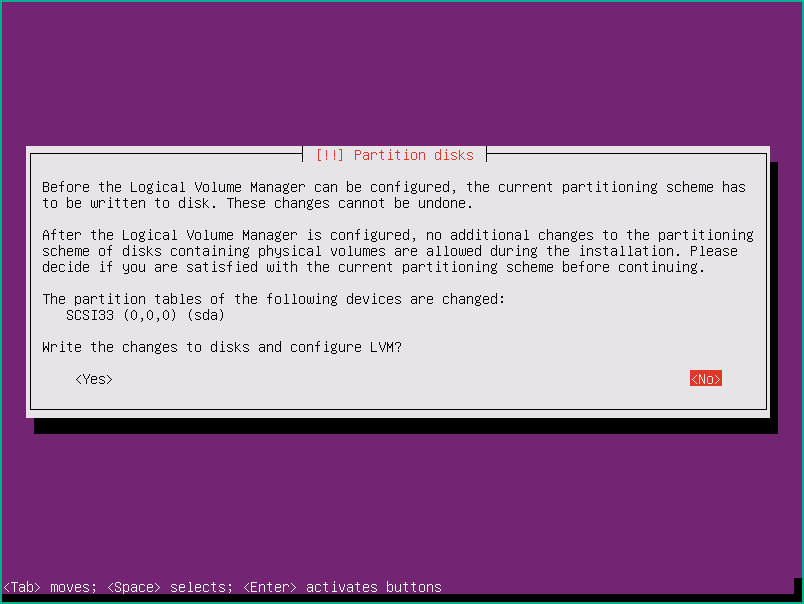
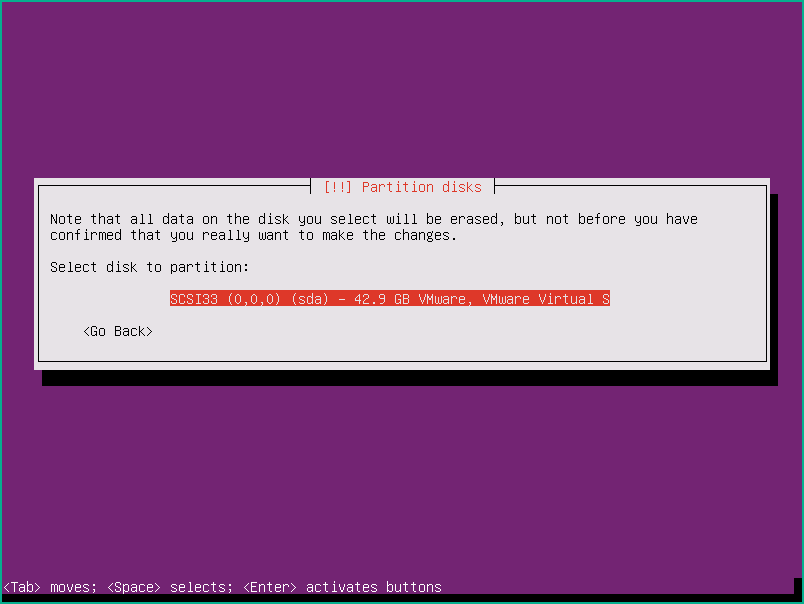
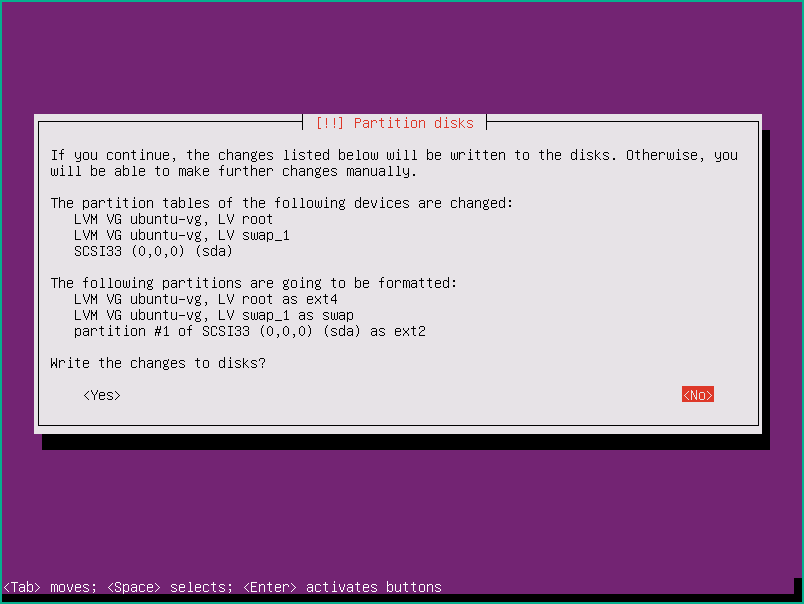
Partition disks configuration:


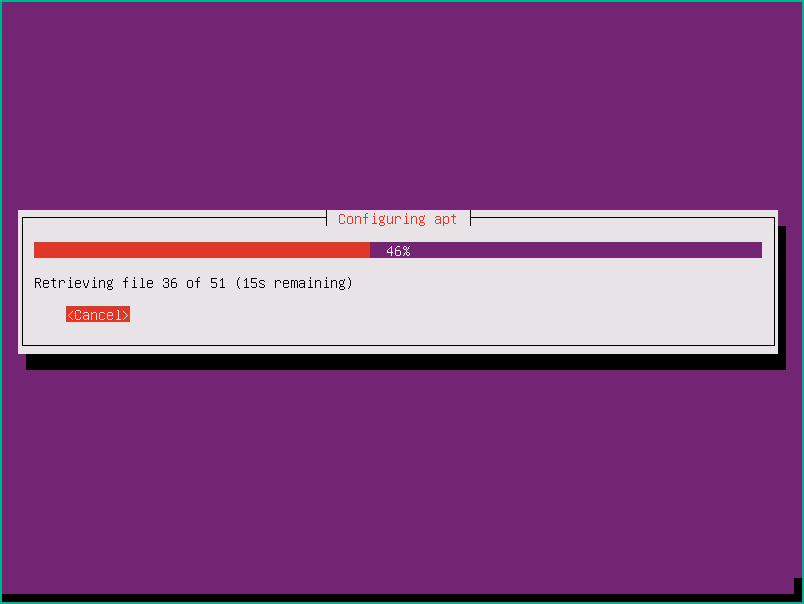
Enter for http proxy information since we do not have one.

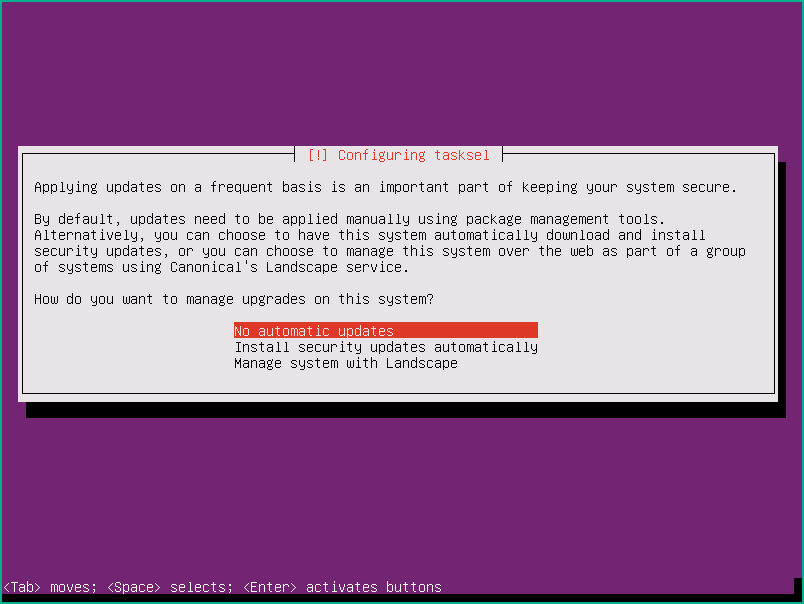
Choose no auto update:
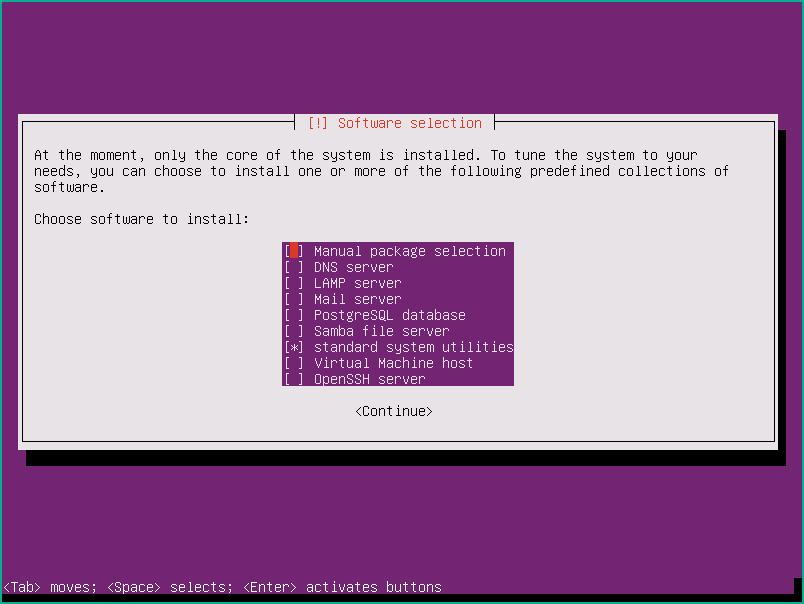
Install the service. For us, just need core. no others.
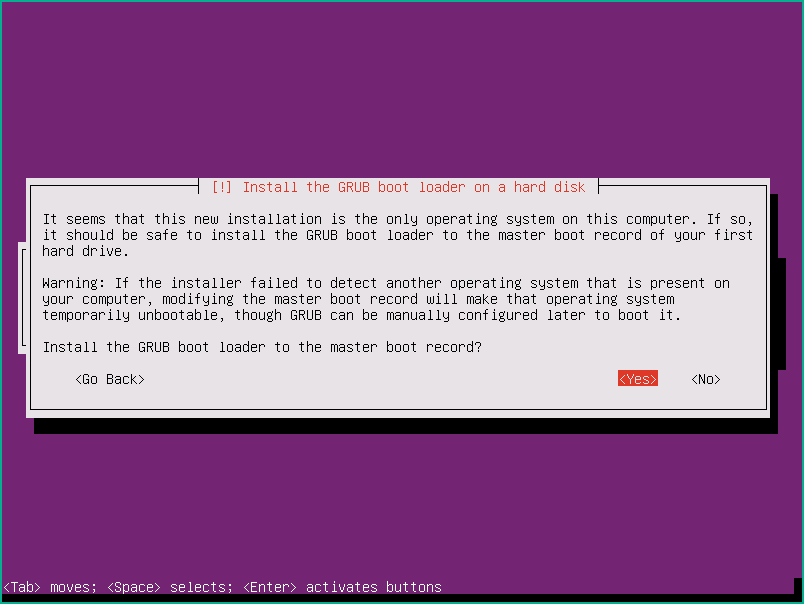
Install GRUB Boot loader
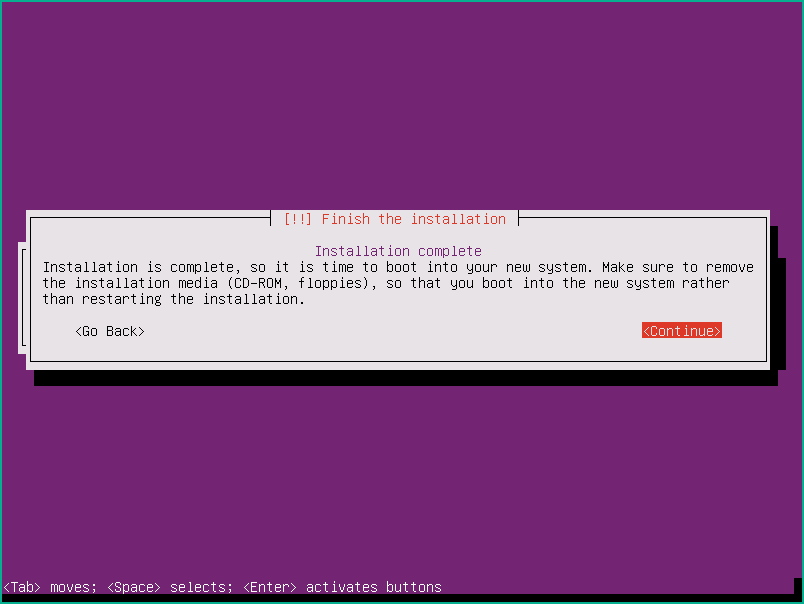
Installation completed
System installation completed, you can try to log in with Putty or SecureCRT client software.