Kali Linux is the world’s most powerful and popular penetration testing platform, used by security professionals in a wide range of specializations, including penetration testing, forensics, reverse engineering, and vulnerability assessment. It is the culmination of years of refinement and the result of a continuous evolution of the platform, from WHoppiX to WHAX, to BackTrack, and now to a complete penetration testing framework leveraging many features of Debian GNU/Linux and the vibrant open source community worldwide.
Kali Linux has not been built to be a simple collection of tools, but rather a flexible framework that professional penetration testers, security enthusiasts, students, and amateurs can customize to fit their specific needs.
1. Installation Kali Virtual Appliance
2. Install Kali Steps
Download Kali: Kali Linux Downloads,
Download Vmware Workstation: downloads。
2) Choose to install the operation system later
4) Choose your Virtual Machine name and folder to put your VM.
5) Disk Size for your virtual machine. 10G for testing, but if you want to use it longer, 50G will give you a good start:
6) Finish settings and Choose Customer hardware if you would like to review settings.
7) Edit Virtual Machine Settings
8) Choose“CD/DVD(IDE)”and use your loaded ISO image file.
Another thing you might want to check is the VMnet network settings, either Bridged or NAT should be fine.
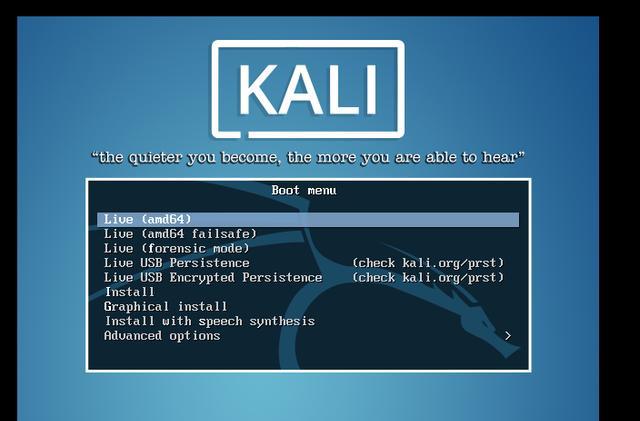
9) Start your virtual machine and Boot from your mounted ISO Kali Image:

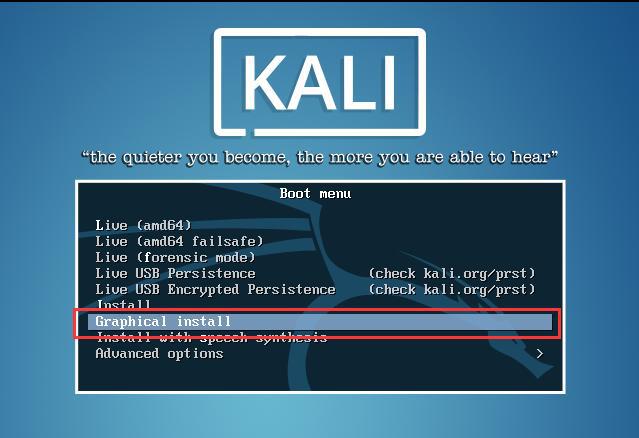
10) Choose Install or Graphical Install to install Kali to your hard drive.

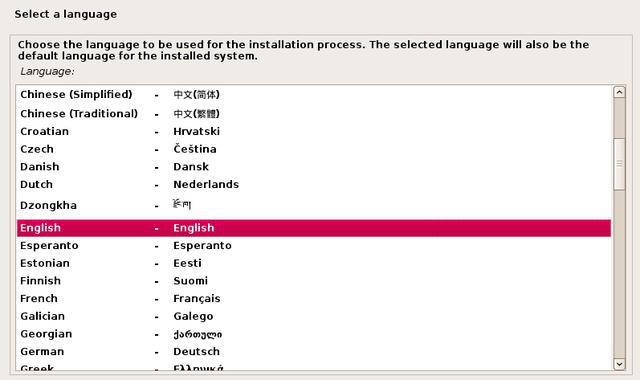
11) Select a Language

12) Here are some Screenshots
 |
| Domain Name |
 |
| Partition Disks |
13) After system rebooted and entered your root username and password, you will get into desktop screen
3. Install VMware Tools
apt update && apt -y full-upgrade
# Reboot now in case you have updated to a new kernel. Once rebooted :
apt -y install open-vm-tools-desktop fuse
reboot
4. Tools in Kali
Kali Zenmap
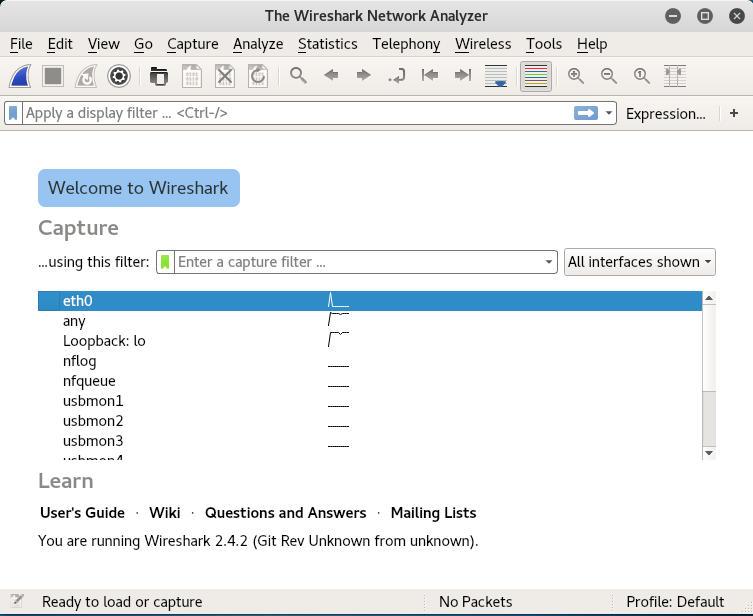
Wireskark
Metasploit 和 Burp Suite。


