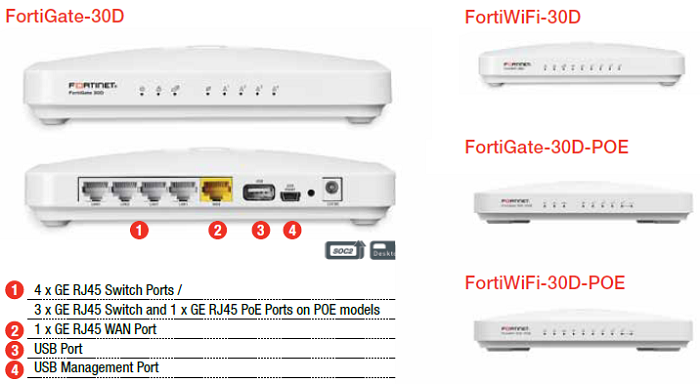
 In the back of the Fortigate-30D, there are 4xGE RJ45 Switch Ports, One GE RJ45 WAN Port, One USB port and one Small USB Management Port. Beside Small USB Management Port (4), it is small Reset hole and DC power adapter port.
Topology:
1. Power on your Fortigate-30D device, and connecting your laptop to one of four GE RJ45 Switch Ports and set your laptop as DHCP client.
You will get one of 192.168.1.x/24 ip address, mostly it is 192.168.1.100. From your browser, browser to webpage https://192.168.1.99.
After clicked ‘Proceed anyway’ button, login window prompt it up. User name is admin and there is no password.
Directly click Login button then you will get into Web GUI management interface.
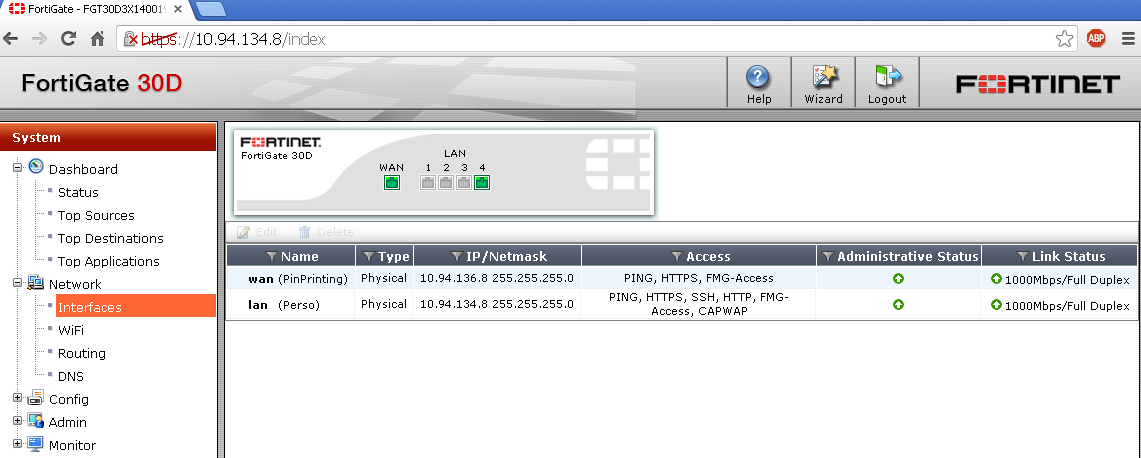
2. Configure LAN and WAN Interfaces
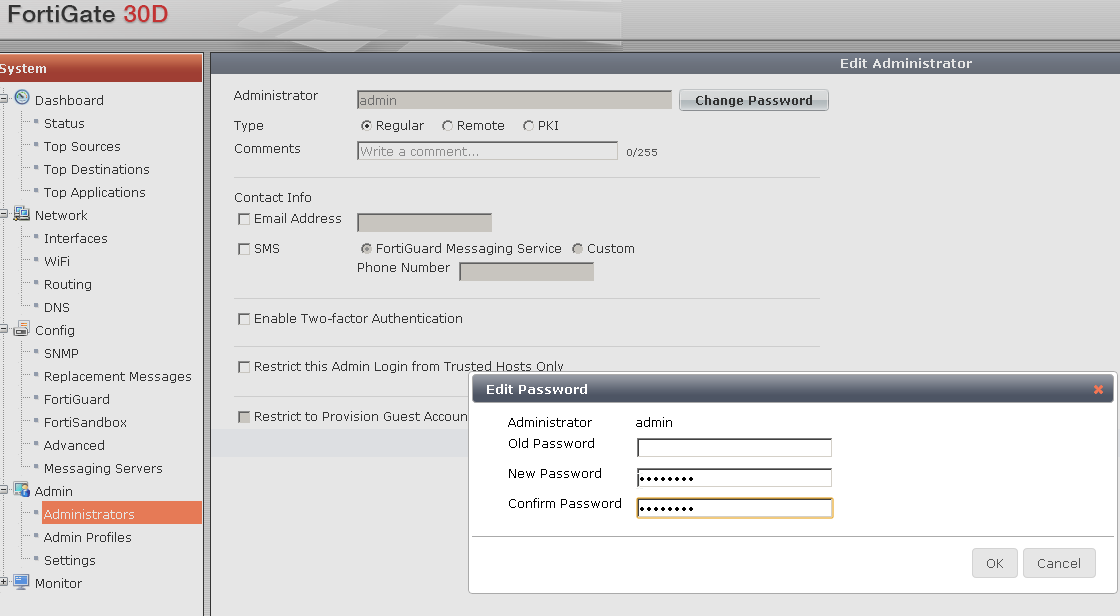
3. Changing the admin password.
4. Add a default route.
5. Add a new Virtual IP Mapping for Destination NAT-ting or Port Forwarding configuration
note: For Source Nat-ting, the configuration is on the policy. When you create a firewall rule, check Enable NAT at Use Destination Interface Address.
- NAT any WAN Source IP Address to LAN Interface IP Address (10.9.134.8)
- NAT destination ip address from 10.9.136.40 to 10.9.134.40
6. Add a new policy rule from WAN to LAN vip address.
7. Test
Using Iperf to do Performance Test from 10.9.136.18 to NAT-ed WAN IP 10.9.136.100 (LAN IP address is 10.9.134.100).
From WAN to LAN, I am able to push traffic to 890Mb/s. Between LAN, it hits 926Mb/s.
8. Demo Site of Fortimanager and Fortigate Product (140D-POE)
Login name is: demo
Password is: demo
10. Basic CLI Commands
- FGT30D3X1400171 $ execute ping 10.9.136.18
PING 10.9.136.18 (10.9.136.18): 56 data bytes
64 bytes from 10.9.136.18: icmp_seq=0 ttl=64 time=0.7 ms
64 bytes from 10.9.136.18: icmp_seq=1 ttl=64 time=0.6 ms
— 10.9.136.18 ping statistics —
2 packets transmitted, 2 packets received, 0% packet loss
round-trip min/avg/max = 0.6/0.6/0.7 ms


